
From Legacy to Decentralize Renderer
After the release of Opencerts v2, institutions now require to host their own decentralized renderer. In this guide we will learn how to migrate a template from the legacy renderer that was hosted on govtech repositories into your own renderer. More specifically, we will migrate the 2018 Geekout template.
Setup the new renderer
We will make use of OpenAttestation decentralized renderer template to build our renderer:
git clone git@github.com:Open-Attestation/decentralized-renderer-react-template.git legacy-migration
cd legacy-migration
npm install
We are now ready to work on the migration.
Types
The first step of the migration will consist of creating the correct types that our template will expect. When we open the 2018 Geekout template, we notice the following properties being used:
certificate.recipient.nameat line 46certificate.additionalData.startDateat line 19certificate.additionalData.endDateat line 24
In src/templates/samples/customTemplateSample.ts, we can update the type (interface CustomTemplateCertificate) and the example (variable customTemplateCertificate) accordingly:
import { v2 } from "@govtechsg/decentralized-renderer-react-components";

export interface CustomTemplateCertificate extends v2.OpenAttestationDocument {
  recipient: {
    name: string;
  };
  additionalData: {
    startDate: string;
    endDate: string;
  };
}

export const customTemplateCertificate: CustomTemplateCertificate = {
  issuers: [
    {
      name: "institute of blockchain",
    },
  ],
  $template: {
    name: "custom",
    type: v2.TemplateType.EmbeddedRenderer,
    url: "http://localhost:3000",
  },
  recipient: {
    name: "John Doe",
  },
  additionalData: {
    startDate: "2019-06-10T00:00:00+08:00",
    endDate: "2019-06-10T00:00:00+08:00",
  },
};
Template
Replace the content of the React component in
src/templates/customTemplate/customTemplate.tsxby the content of the 2018 Geekout. You will see some errors that we will fix in the following steps.In
src/templates/customTemplate/customTemplate.tsx:Update the component declaration
const Template = ({ certificate }) => {by
export const CustomTemplate: FunctionComponent<TemplateProps<CustomTemplateCertificate>> = ({ document }) => {This change will help us to make sure our template is correctly typed.
The component name does not matter much. However if we change the name
CustomTemplatewe will need to change the whole configuration. To make it simple we will stick to the name that was available in the renderer when we initialized it.In the component code, replace any occurence of
certificatebydocument. There are 3 occurences to replace.Remove the first line
import PropTypes from "prop-types";which is useless because of Typescript.Remove the 4 last lines which are useless because we don't need prop-types anymore, and the component has already been exported at a previous step.
Template.propTypes = {
  certificate: PropTypes.object.isRequired,
};
export default Template;
Add the following imports
import React, { FunctionComponent } from "react"; import { TemplateProps } from "@govtechsg/decentralized-renderer-react-components"; import { CustomTemplateCertificate } from "../samples";TemplateProps,CustomTemplateCertificateandFunctionComponentare needed for correctly typing the template.
The template requires the use of
lodashanddate-fns. Let's add the libraries into the repository:
npm install lodash date-fns
There will be remaining error at import css from "./styles.scss"; and when using the css variable, that we will cover in the following steps.
Styles
The legacy renderer is configured to work with SASS while the renderer what we used is configured to work with Emotion. Both options are valid, however we will need either to convert the code to work with Emotion, or to configure the template to work with SASS. During the following step, we will focus on the latter option.
Copy the style file next to
src/templates/customTemplate/customTemplate.tsx. Keep the filename untouched (styles.scss).Add the following lines into
src/@types/declaration.d.ts:declare module "*.scss" { interface ClassNames { [className: string]: string; } const classNames: ClassNames; export = classNames; }This will configure Typescript to correctly infer the classname available in the style file directly from your code.
Run the command below to add the required libraries:
npm install sass-loader sass css-loader style-loader --save-devAdd the following rule into
webpack.config.js:{ test: /\.s[ac]ss$/i, use: [ "style-loader", "css-loader", "sass-loader" ] }You can add the object above anywhere inside
module.rules. This configuration is necessary for your application to build correctly with webpack.Add the following rule into
storybook/webpack.config.js:config.module.rules.push({ test: /\.scss$/, use: ["style-loader", "css-loader?modules", "sass-loader"], });You can add the code anywhere inside the configuration method. This configuration is necessary for your application to run correctly with storybook.
At this point, there should be no more errors remaining in the project.
Extra
date-fns
The version of date-fns used in the legacy repository is a bit outdated. We need to migrate the code to the latest version :
The
formatfunction does not work anymore when the input is a string. We will need to parse the date first usingparseISOUpdate the
date-fnsimport:import { format, parseISO } from "date-fns";Parse every date provided to
format:parse(date). For instance:format(parseISO(startDate), "dd MMMM");There are 3 dates to parse in the code.
the
formattokens has changed:DDmust be changed toddYYYYmust be changedd toyyyy
In the end, we should have the following
{format(parseISO(startDate), "dd MMMM")} - {format(parseISO(endDate), "dd MMMM yyyy")}
// ...
{format(parseISO(endDate), "yyyy")}
Template configuration
We finally reached the last step of the migration, the component configuration. The 2018 Geekout configuration expects one template having an id set to certificate and a template set to `Certificate.
Let's replace the configuration in src/templates/customTemplate/index.tsx:
import { CustomTemplate } from "./customTemplate";

export const templates = [
  {
    id: "certificate",
    label: "Certificate",
    template: CustomTemplate,
  },
];
To make sure everything is working, you can start storybook or deploy your renderer as explained in OpenAttestation documentaton.
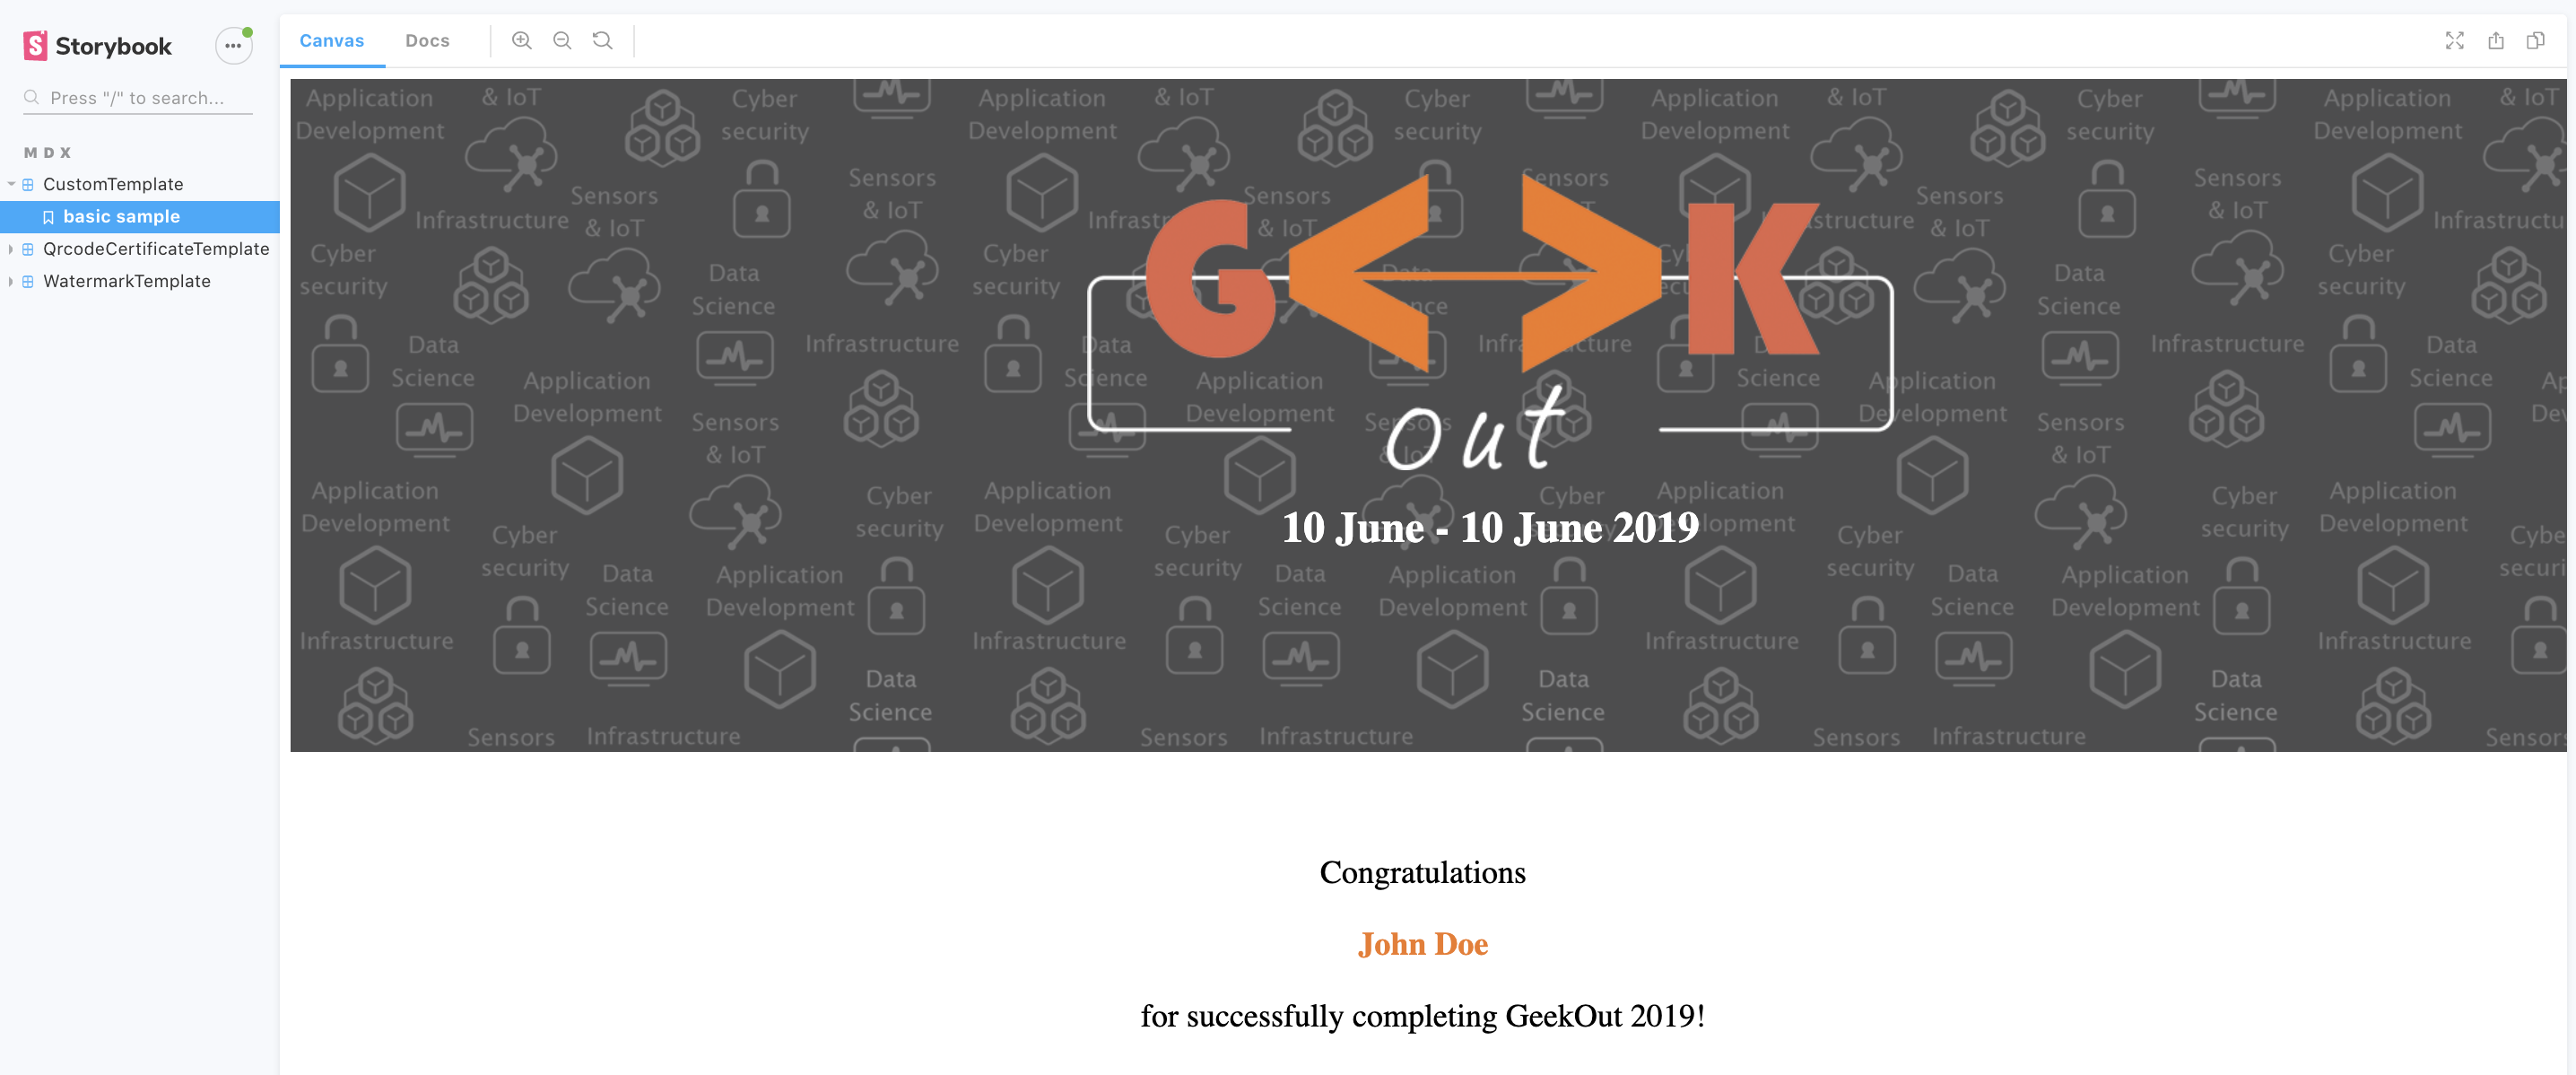
After starting storybook the template should look like:
Summary
During this guide, we have learnt that in order to migrate a template from the legacy renderer to a decentralized renderer (using the template repository provided), the following steps must be performed:
- Type your certificate. This will ensure that when you write your template, you don't misused any property.
- Copy the template and adapt it (Typescript transformation, adding third party libraries, etc.)
- Configure the style due to the difference between this repository and the legacy renderer.
- Perform extra changes. In this guide we needed to upgrade our code to be able to use the latest version of
date-fns. Depending on what your template uses, you might have different steps to perform. - Configure the template.
Going further
Once you have finished the migration, you can think about cleaning the repository to fits your need:
- remove unnecessary code (for instance,
emotionas explained in the README). - remove the examples.
- change the integration tests.