opencerts-documentation
Issue certificates using MultiSig wallet
This section will guide you through How to use a 3rd party MultiSig Wallet smart contract to allow multiple owners to confirm the transaction to issue certificates.
This is useful in one of the following scenarios: 1) You would like to only allow issuance with the consent of multiple parties OR 2) You would like to allow multiple parties to issue from the same document store with each their own Ethereum wallet.
NOTE: Advanced users only! Do not attempt this if you are not comfortable with the whole OpenCerts basic issuance flow
Prerequisites
To issue the certificates, please ensure you have:
Setting up the MultiSig Wallet
- Connect and setup your Hardware Ledger Nano S.
- Go to https://wallet.gnosis.pm.
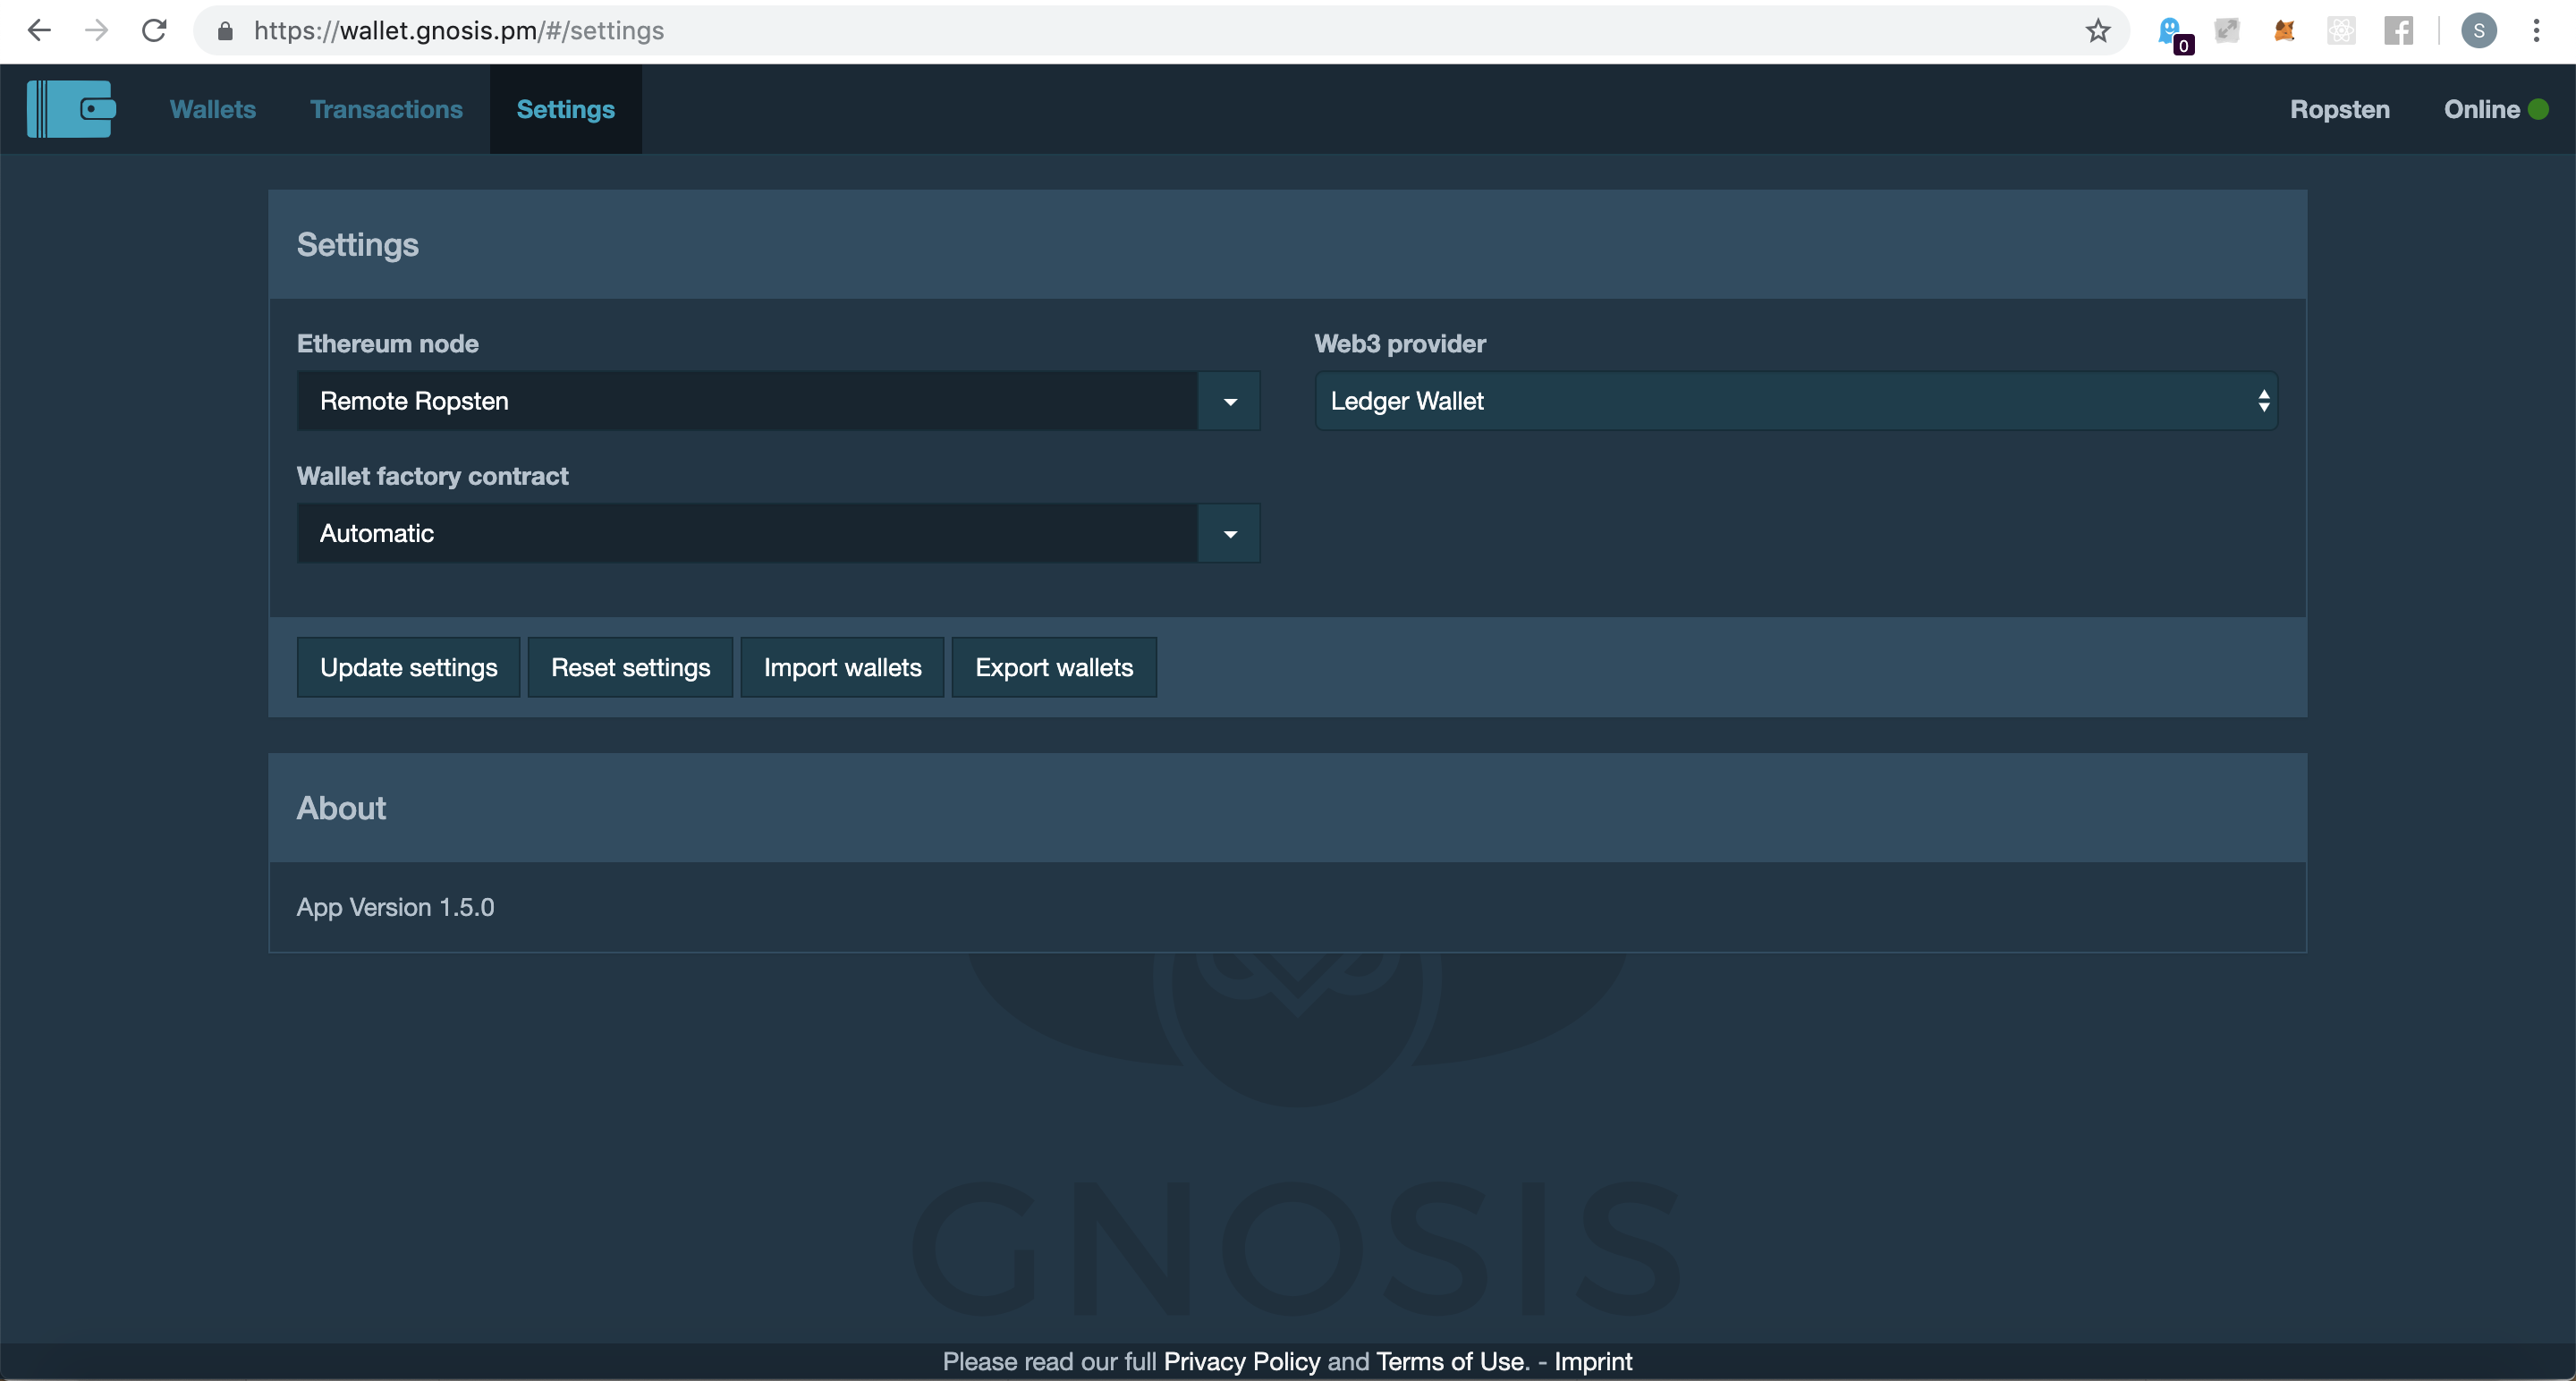
- Go to settings and make sure you have selected the required network under “Ethereum Node”. Ropsten test network for testing purposes and mainnet for production. In Web3 provider select Ledger Wallet and then click “Update settings”.
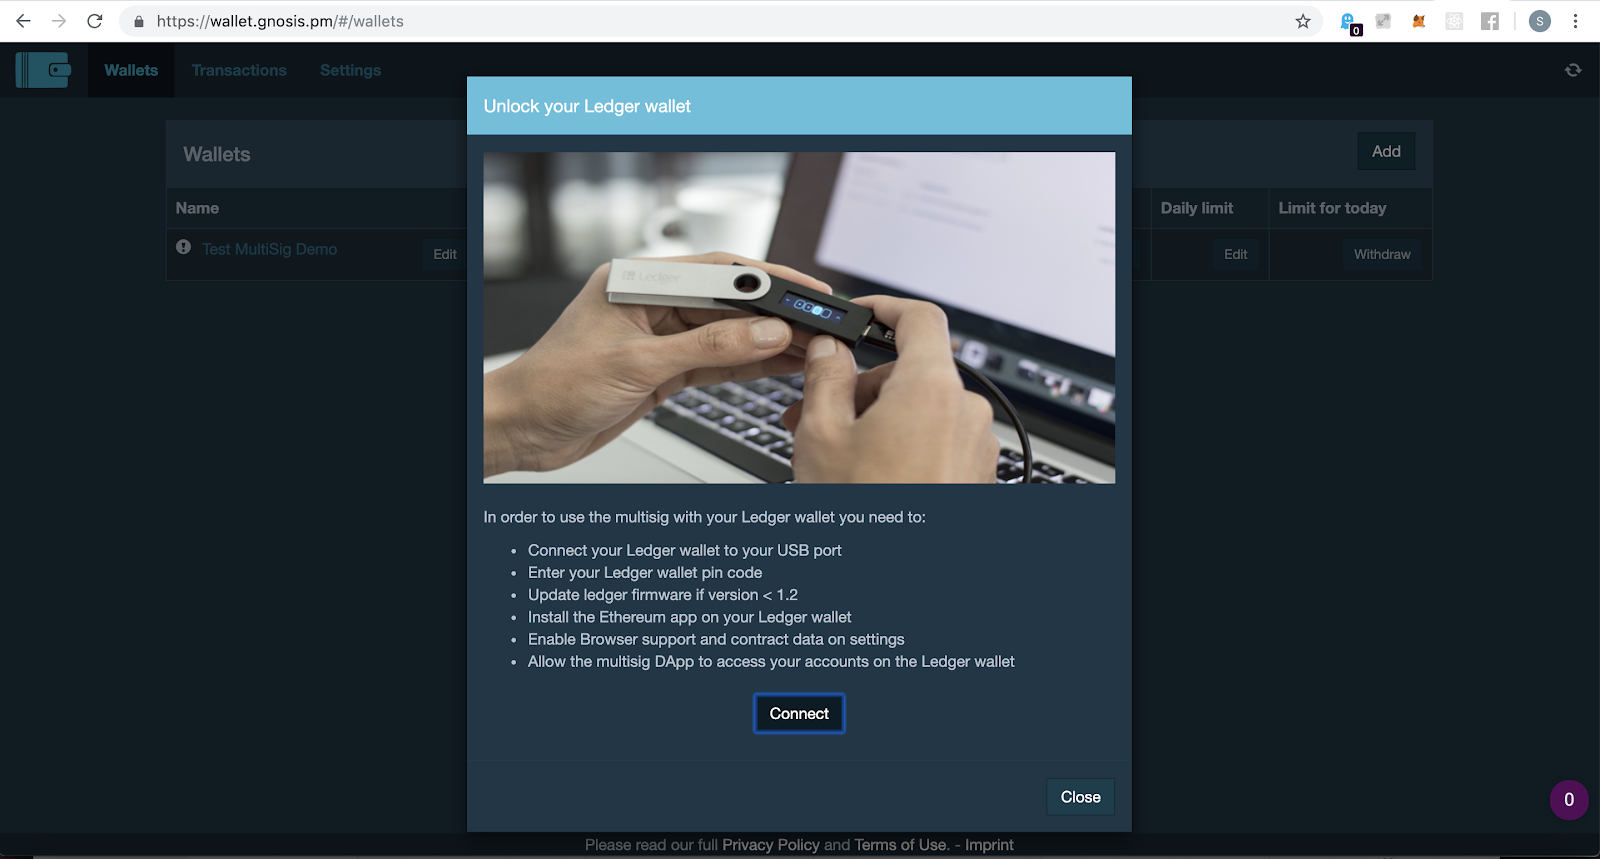
- Make sure you have selected the ethereum app in your Ledger Nano S. It will prompt and ask to confirm to connect with Ledger Nano S. Click on “Connect” and confirm it in the Ledger Nano S.
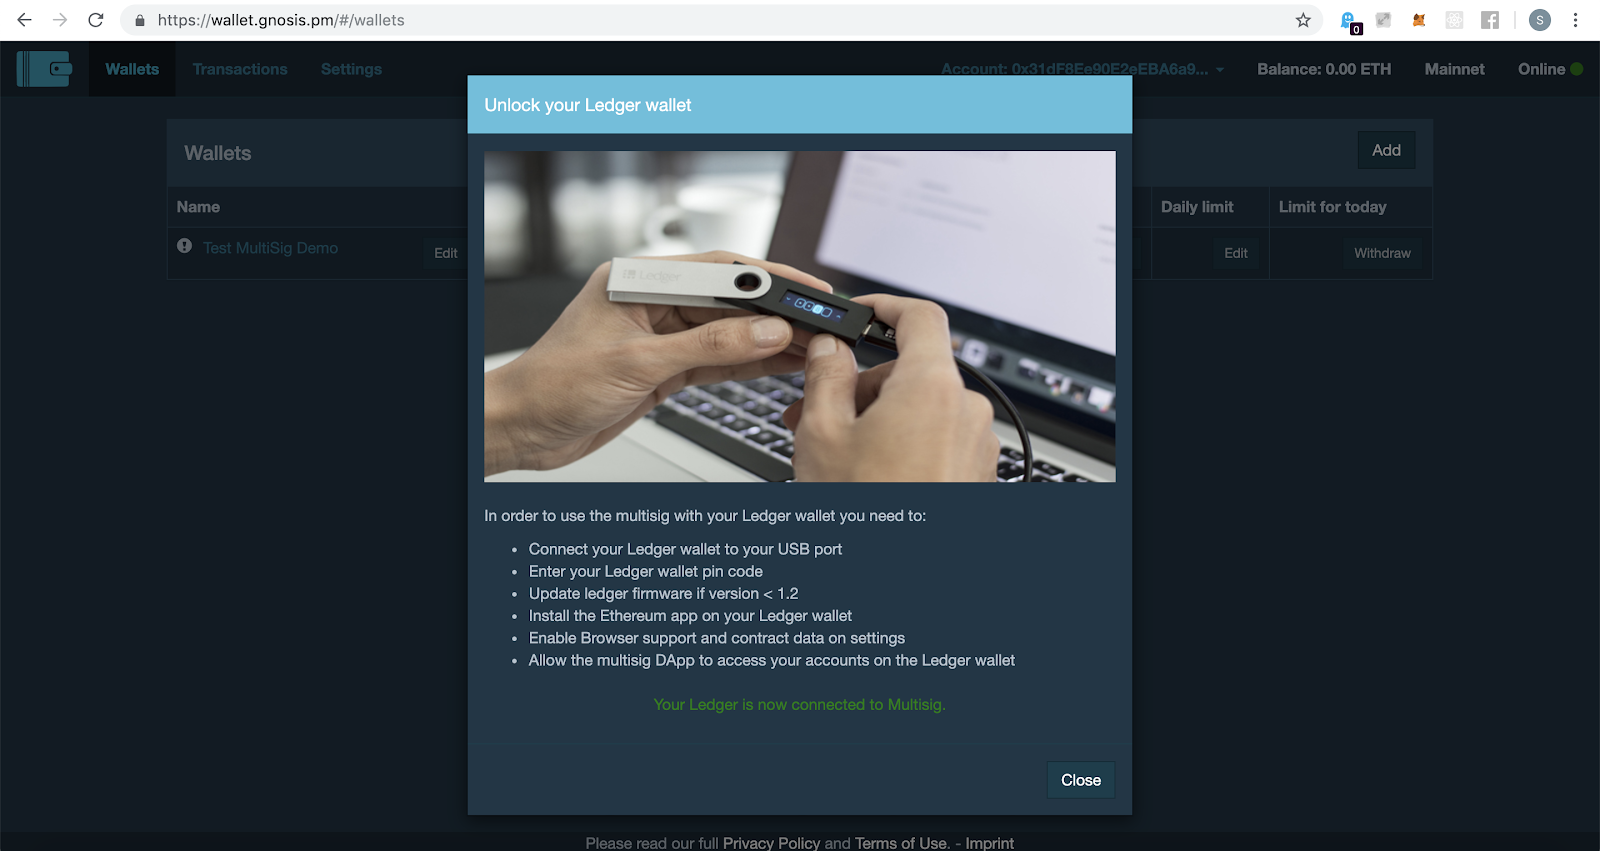
- Once you are connected you will be shown below message. You can see your Ledger wallet address and wallet balance on the right corner.
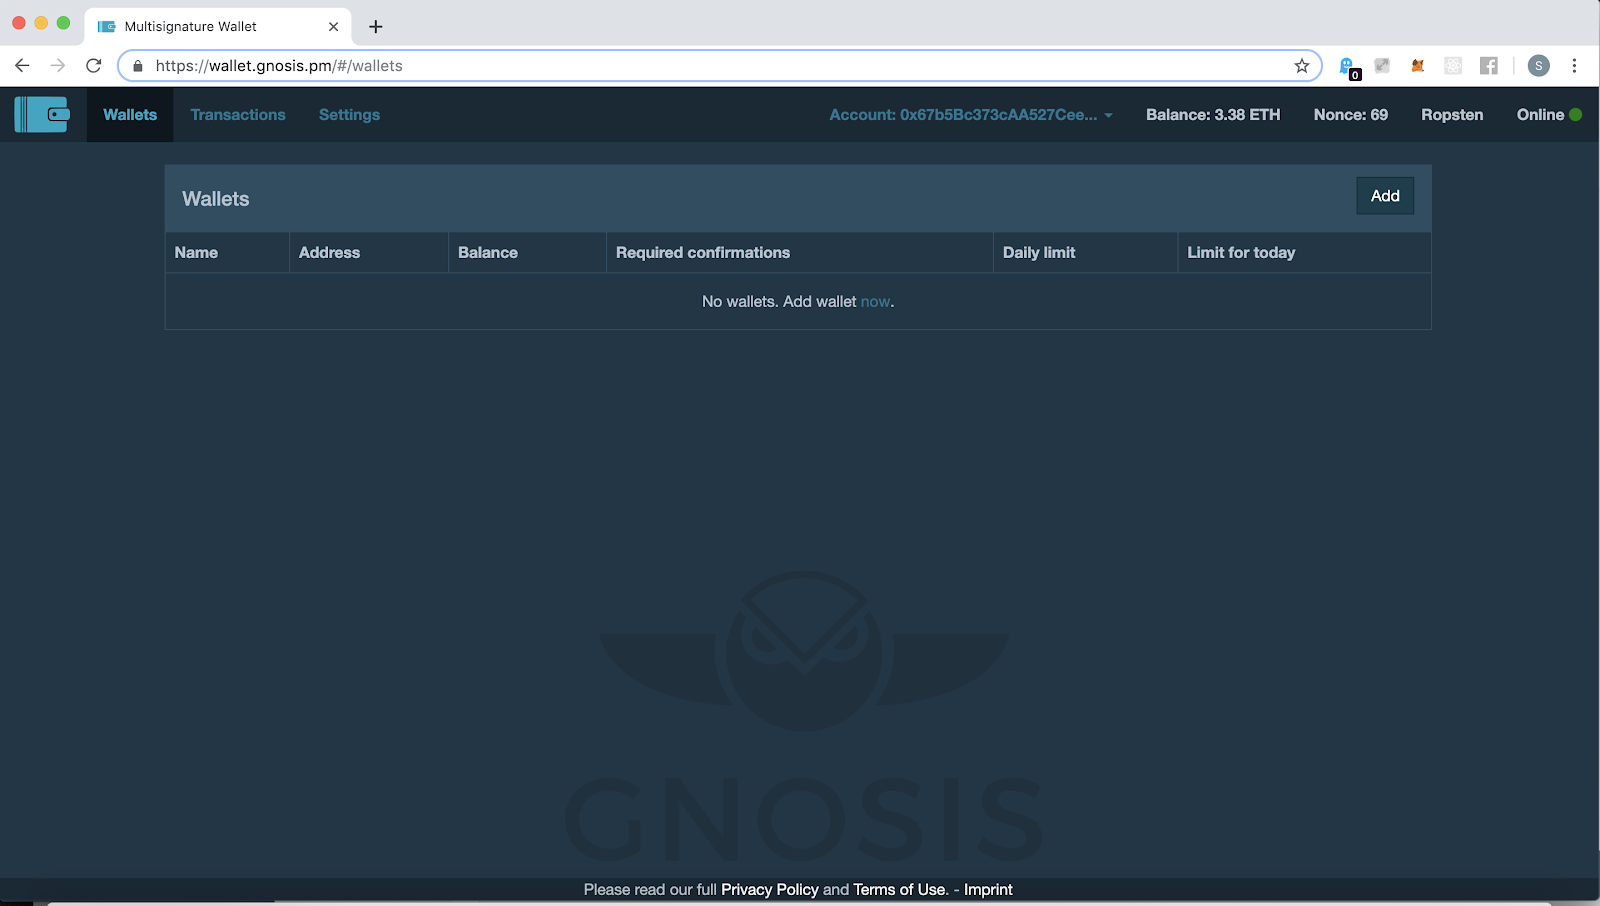
- Click on the wallet. You will see the below shown view. Make sure if you are testing you see Ropsten on right top corner and your Ledger wallet address with the balance in it. Now click on the “Add” button.
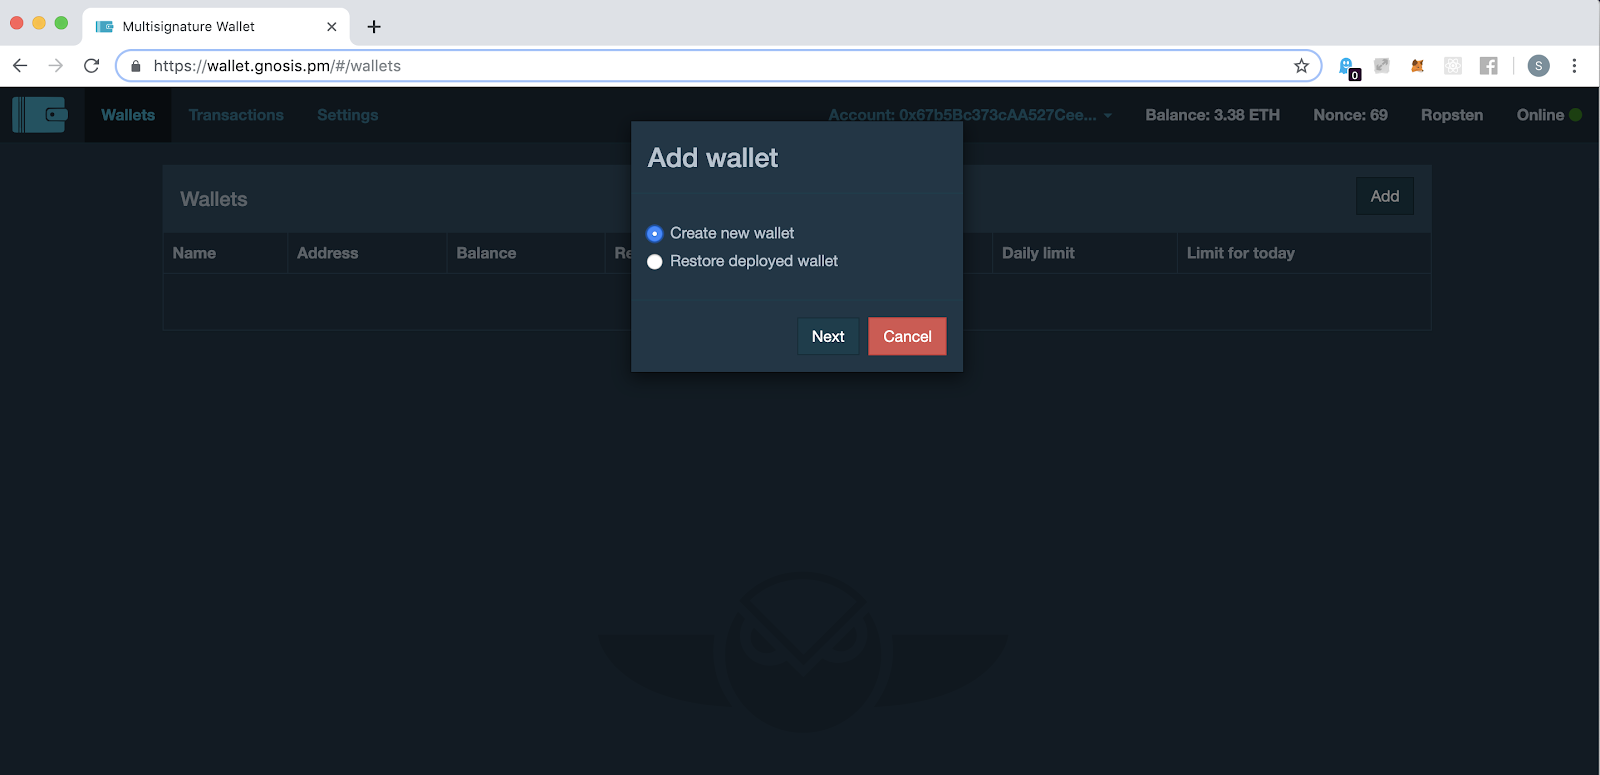
- Select “Create new wallet” and click on “Next”.
-
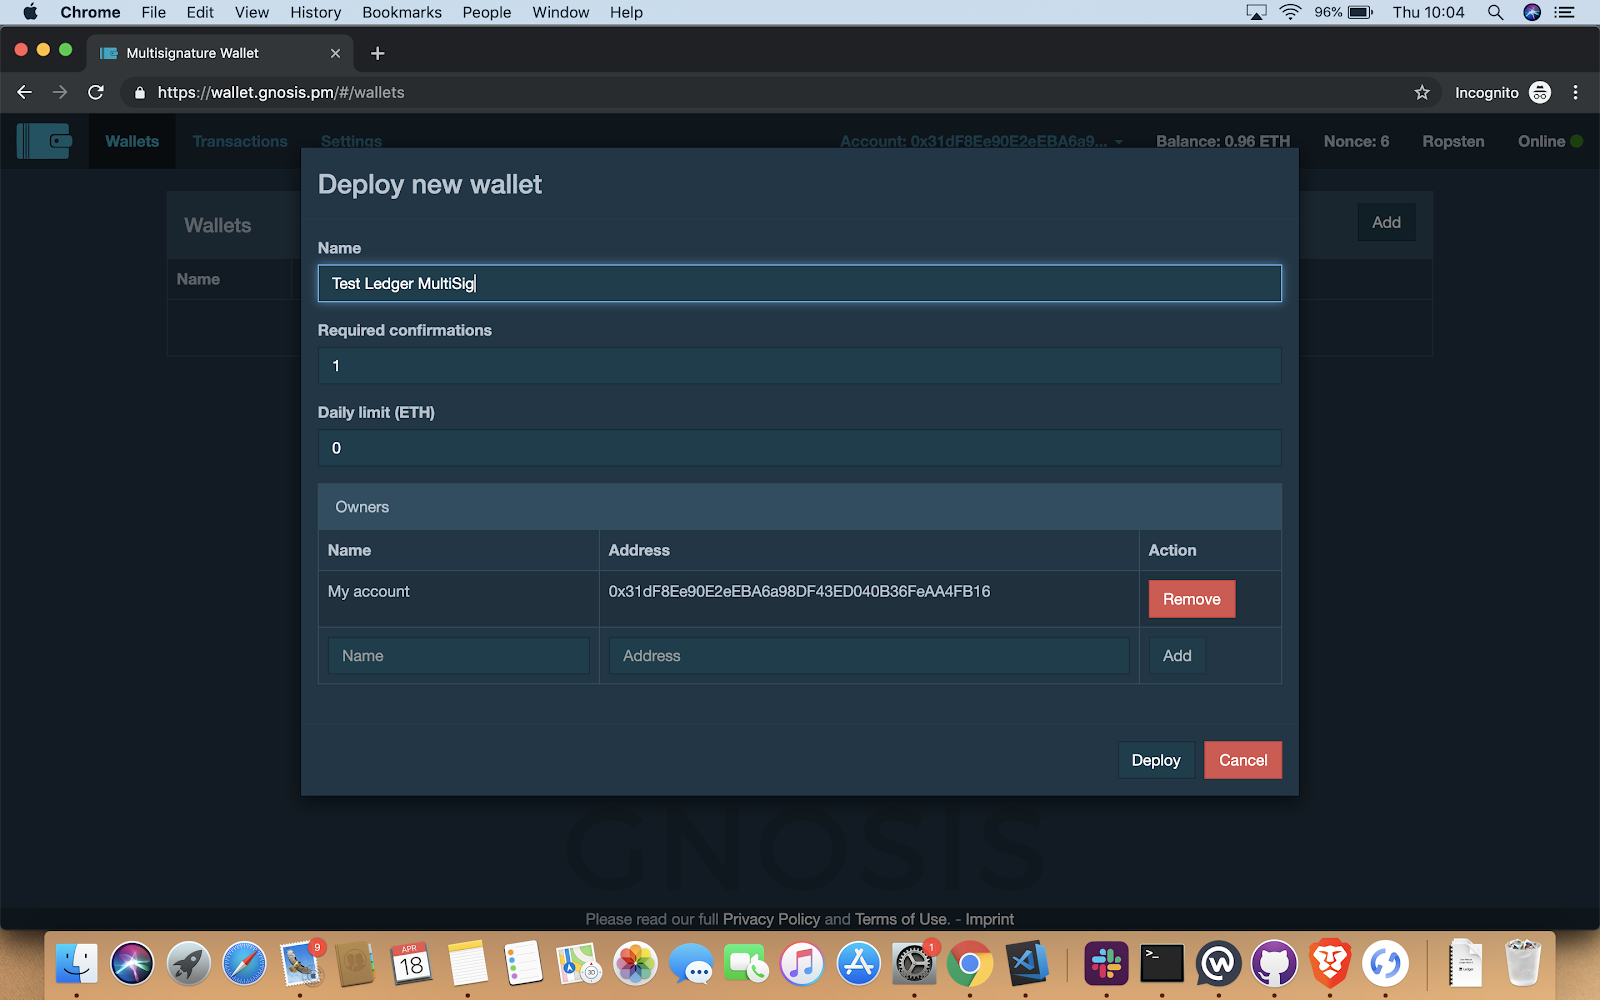
Enter Name, Required confirmations, Daily limit (ETH) and the addresses of the owners and then “Deploy with factory”:
Name : Wallet name
Required confirmations : The number of approvals needed from the owners (signatories) of the multi-signature wallet (not to be confused with transaction confirmation). Here I enter 2, meaning that at least two people need to sign for a transaction.
Daily limit (ETH) : A limit of ethers that can be withdrawn without the need of required confirmations as configured in Required confirmations.
ADD : These are the owner addresses acting as a signatory for changes to the wallet, notably withdrawals, confirmation changes, daily limits, and ownership changes.
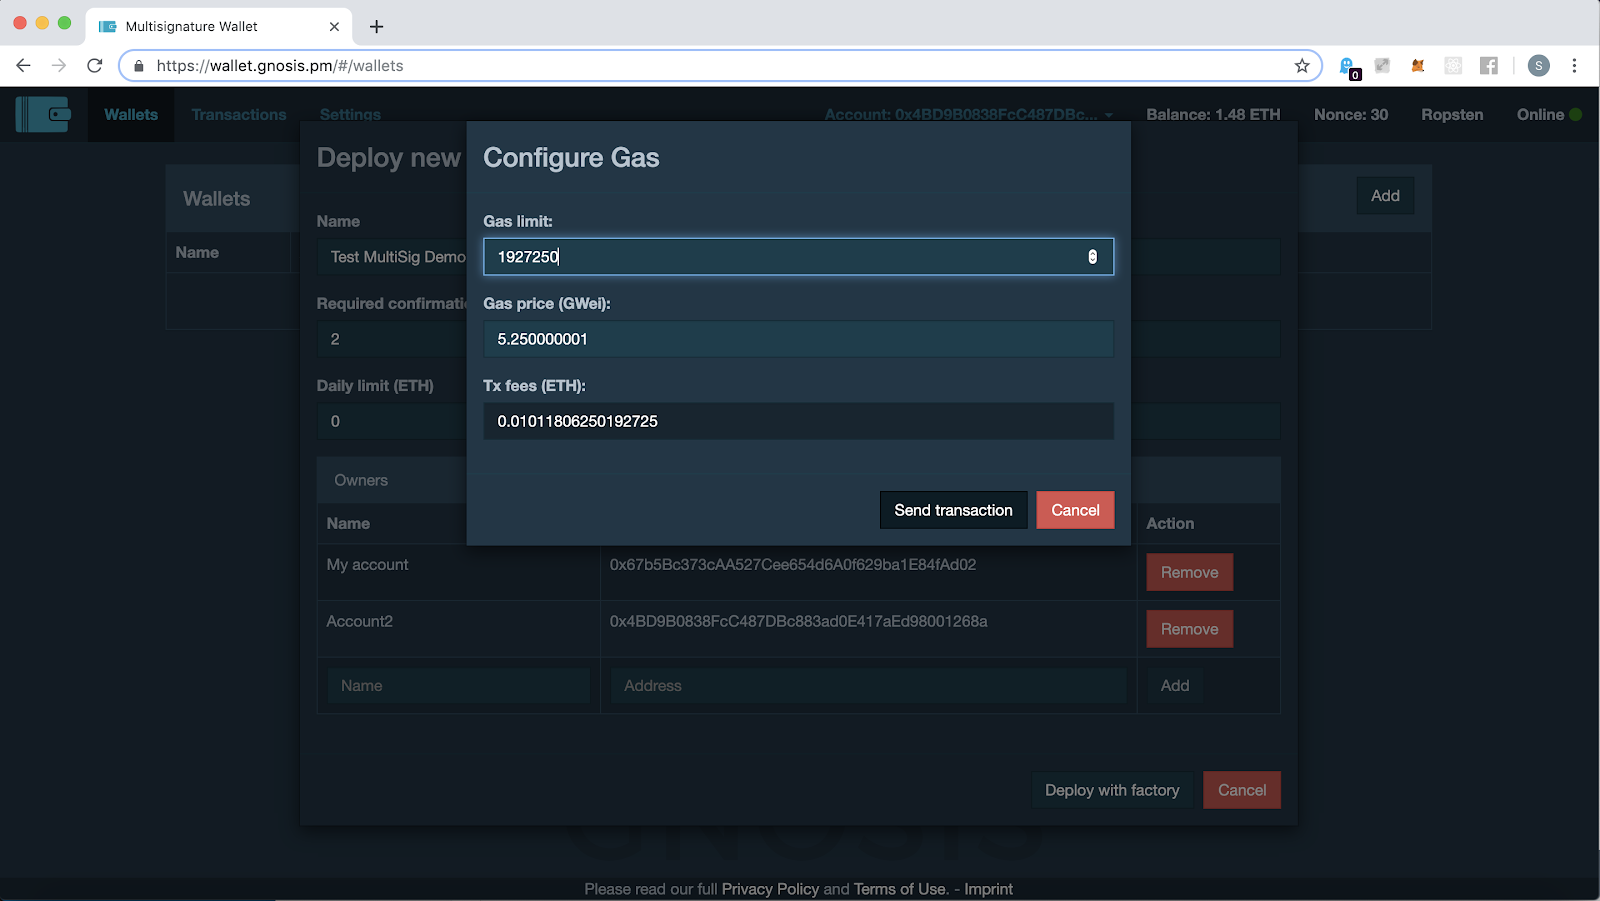
- Click ”Send Transaction” to deploy MultiSig Wallet but it will need Ether to pay gas fee. Once successful you should be greeted with a “Deployment transaction was sent” message on the top right corner.
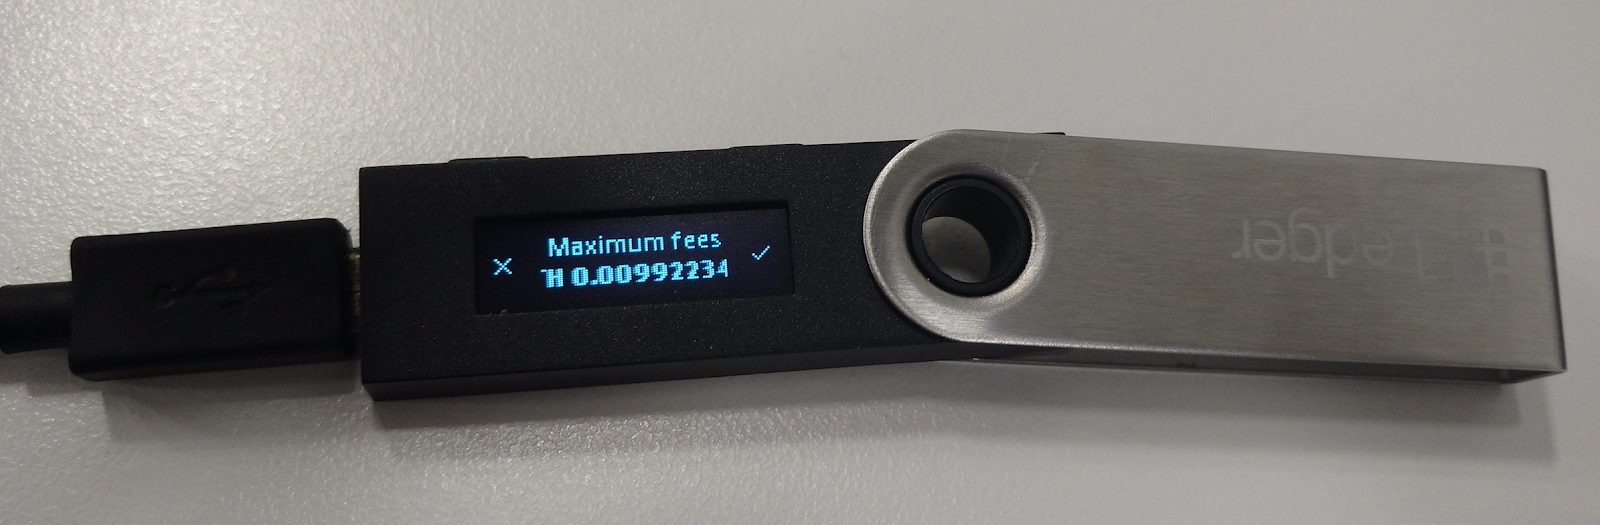
- Check your Ledger wallet. Click the right icon in your Ledger wallet to confirm Address, fee and fields.
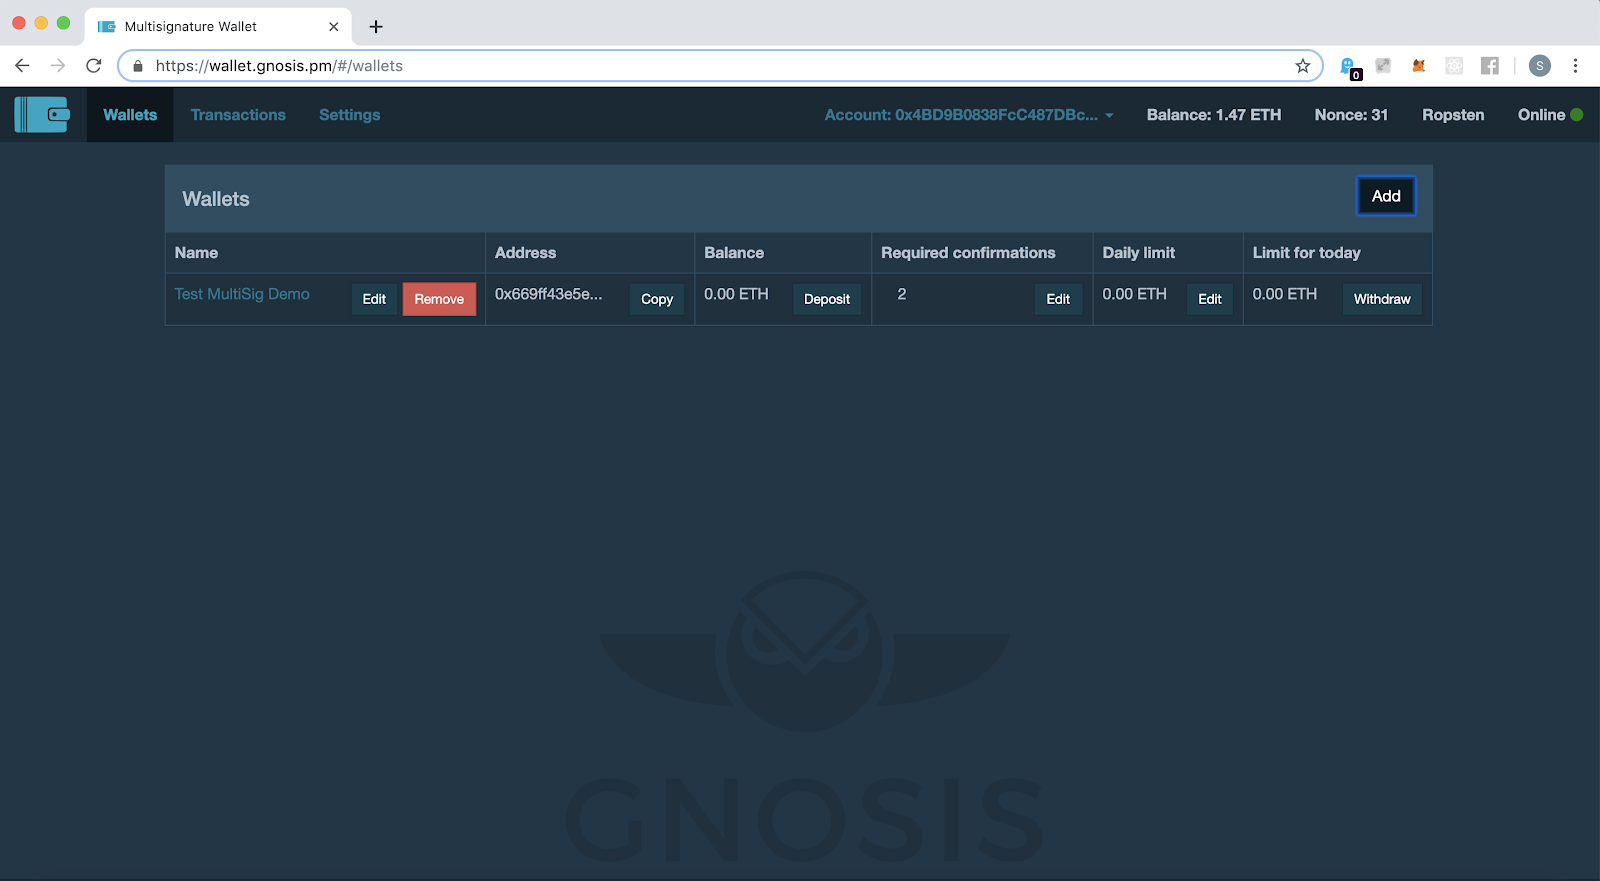
11.Once the transaction is confirmed, we can see the wallet showing up in the Wallets tab. Please check whether your transaction is successful if wallet did not show up.
Creating a new Document Store
(If you have an existing document store that you would like to transfer ownership of to the MultiSig wallet, you may skip this step)
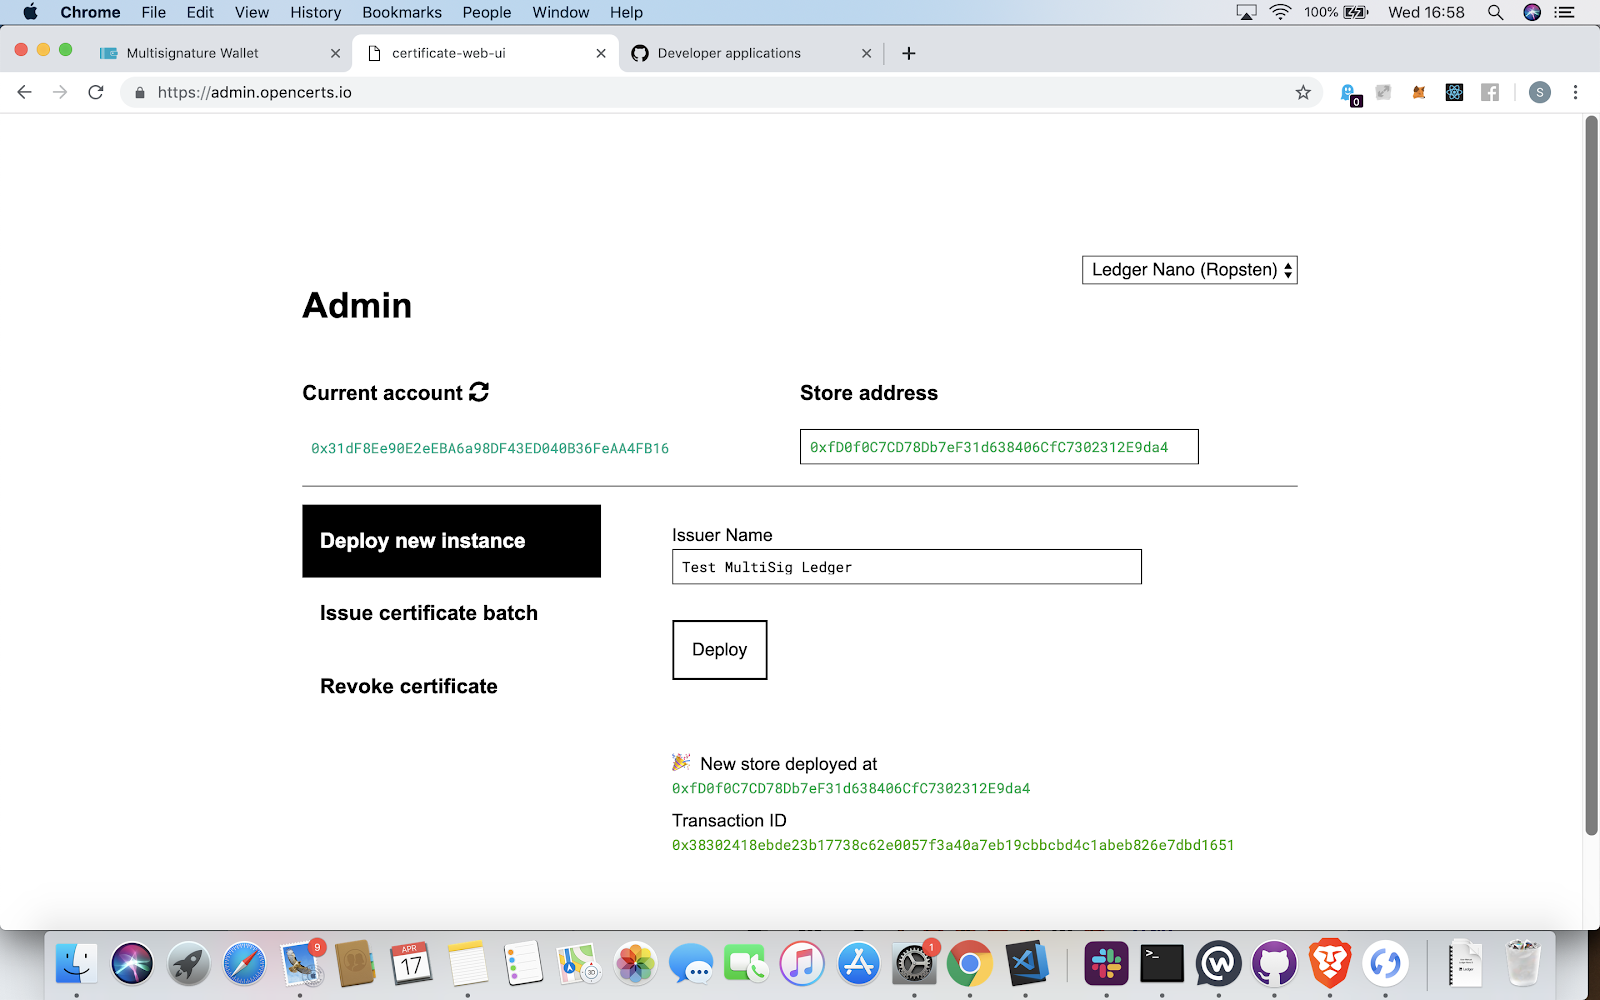
- Now go to https://admin.opencerts.io and deploy the new instance of the store using your Ledger Nano S (follow these instructions Deploying Store). Once successful you should see a message with store address and transaction ID. Click on the transaction ID or go to https://ropsten.etherscan.io
Transferring Document Store ownership to MultiSig wallet
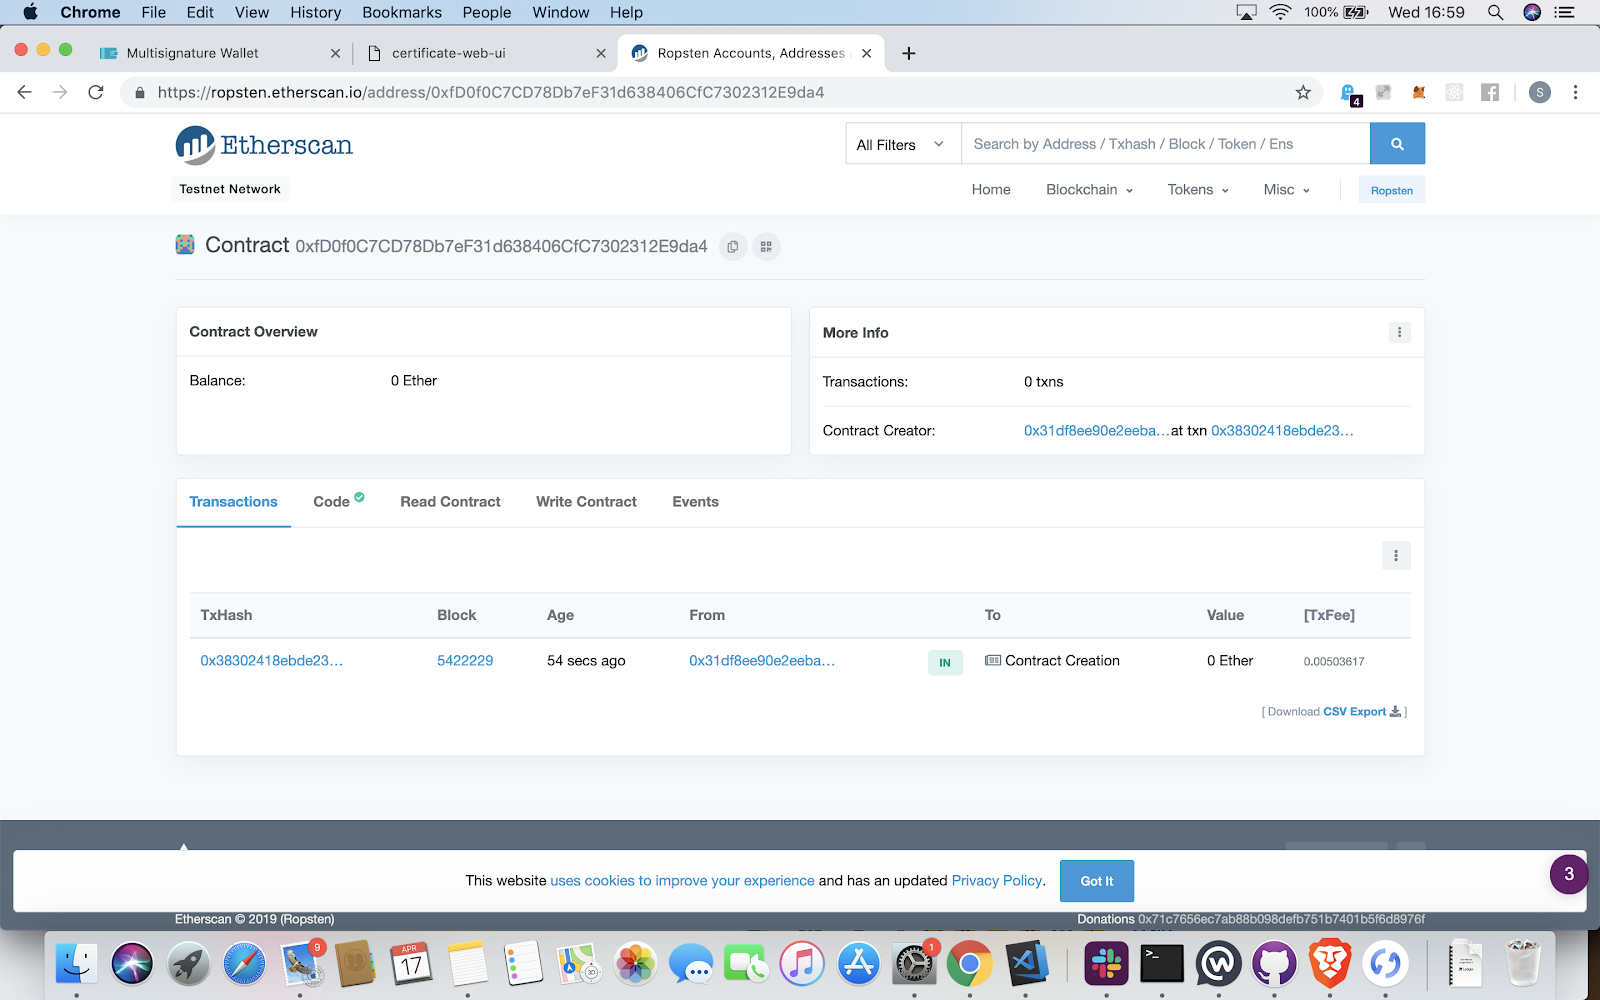
- Once you’re on https://ropsten.etherscan.io search for the store address.
-
Go to “Write Contract” tab. You should see a field with transferOwnership. Connect your Ledger wallet to MetaMask. Select the network type either ropsten or mainnet.
Enter the MultiSig wallet address and click on “Write”.
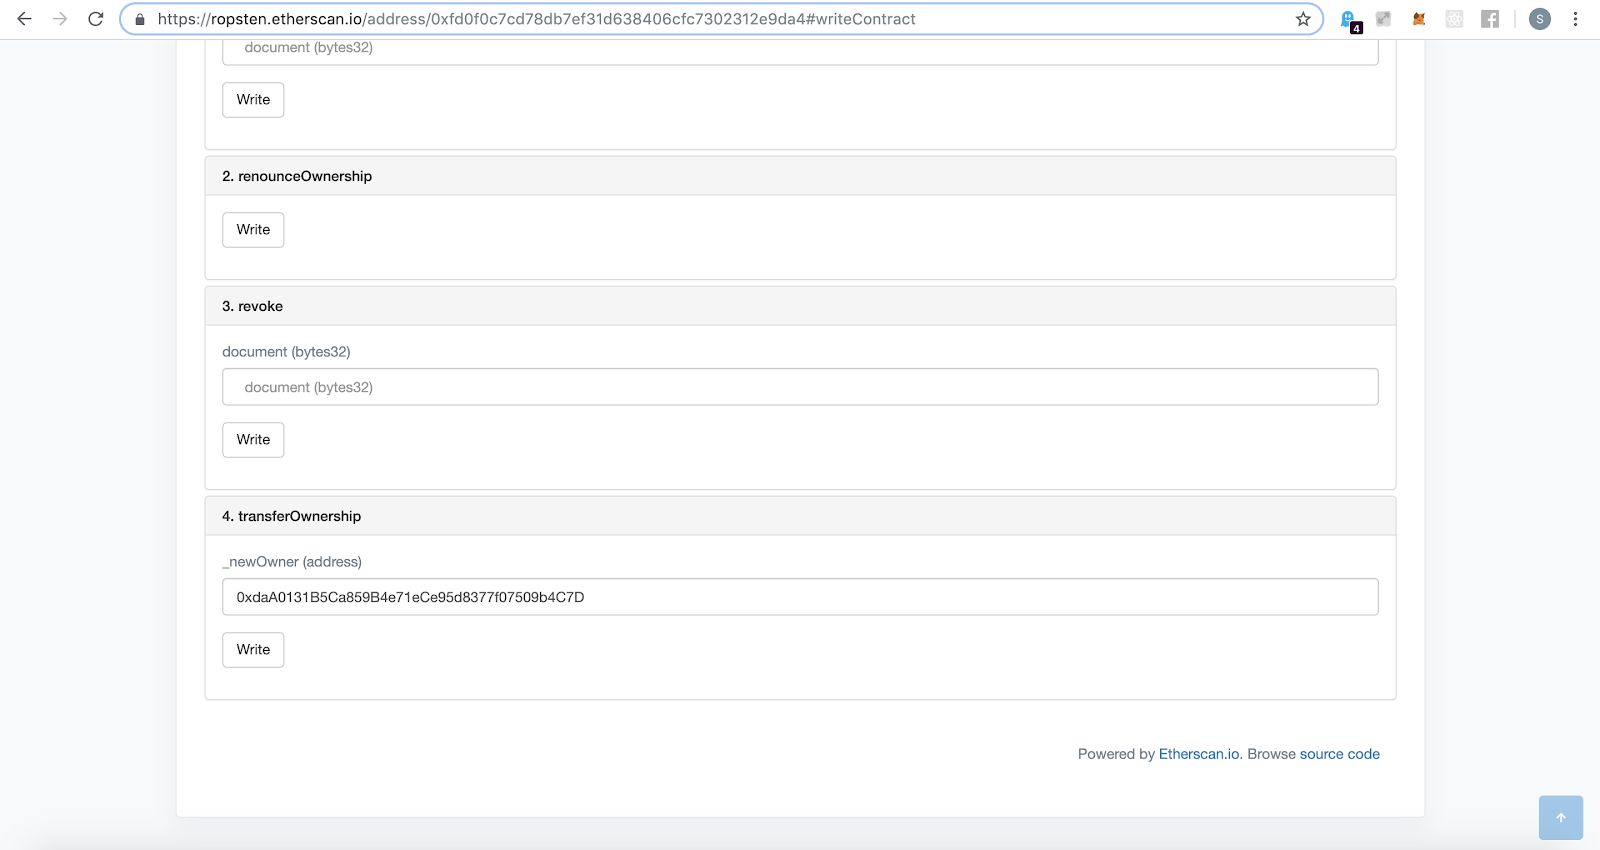
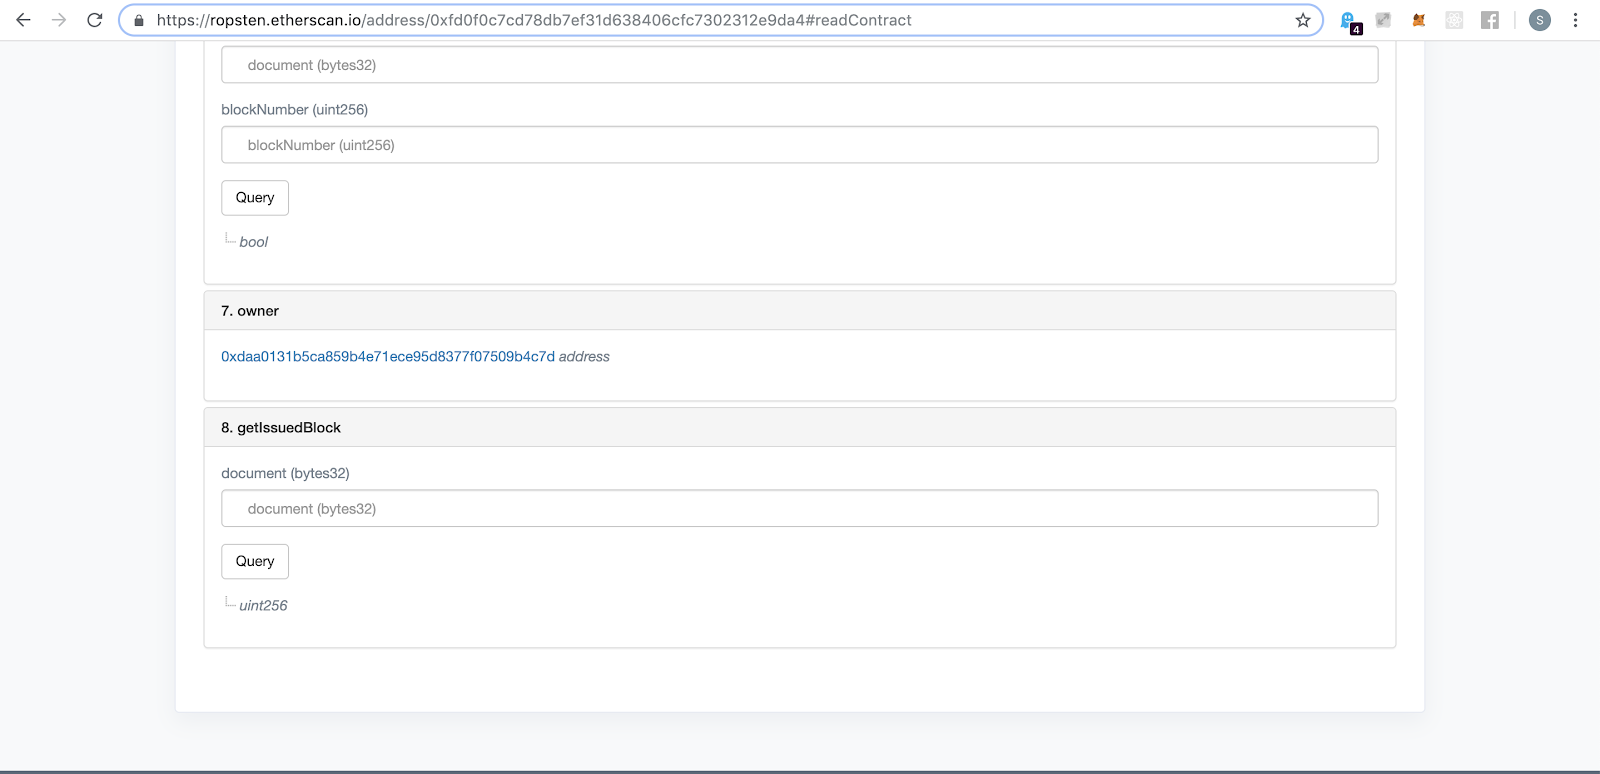
- In the read contract section you should see MultiSig wallet contract as the owner of this contract.
Issuing using MultiSig wallet
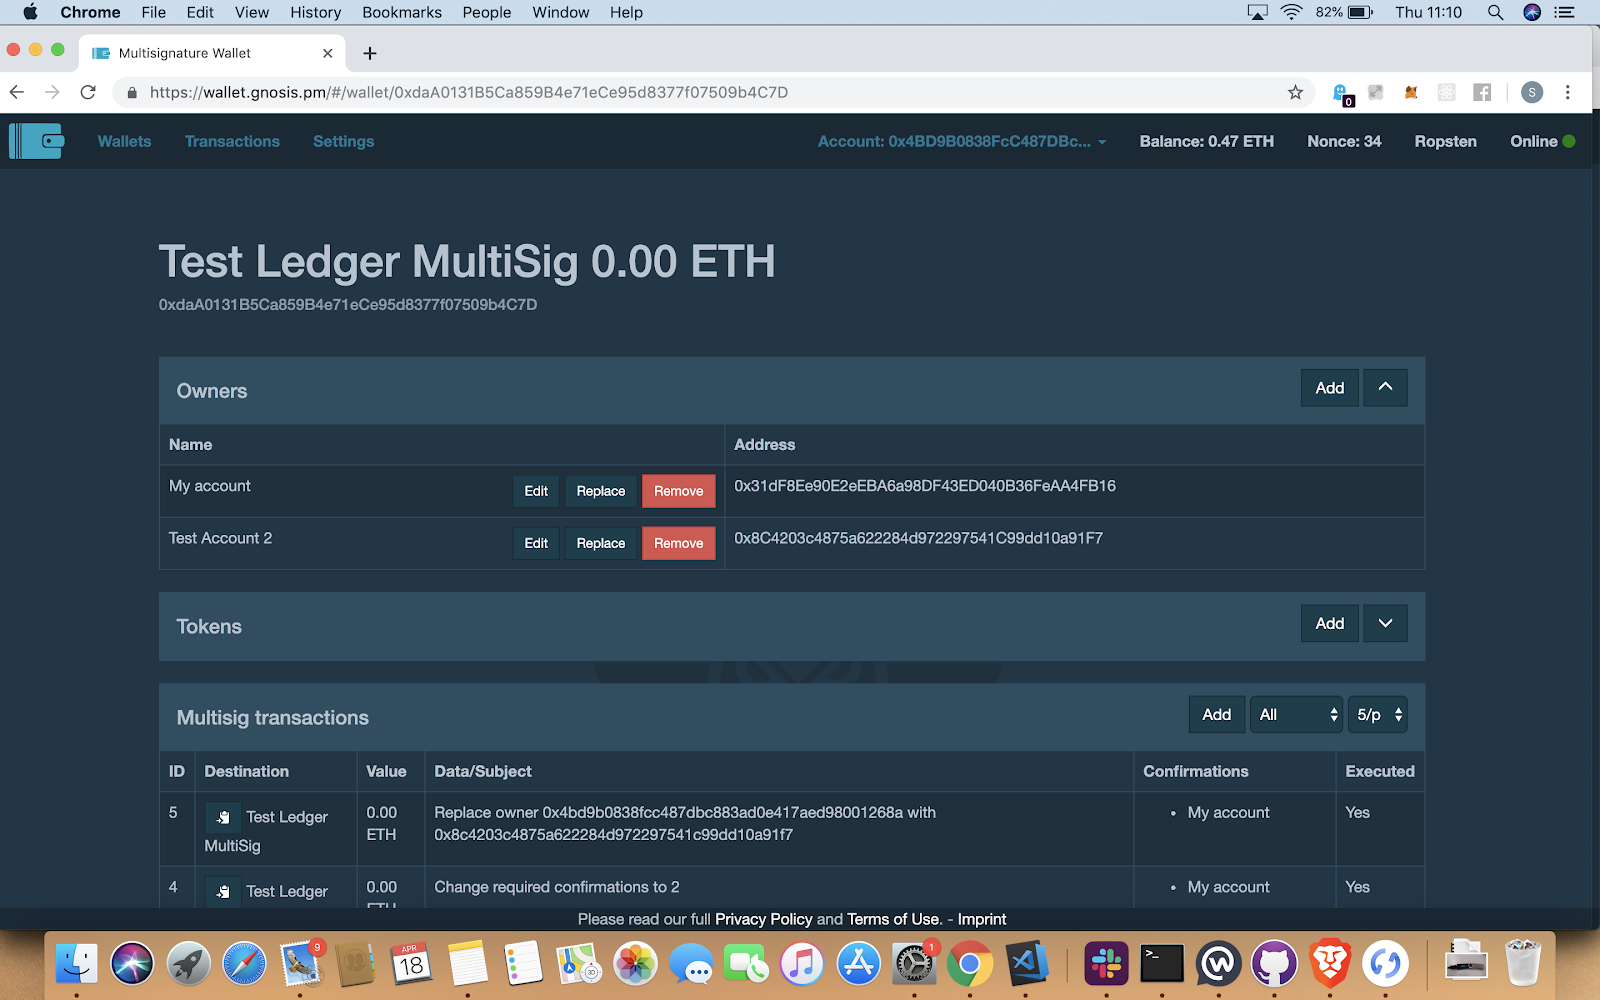
- Go back to https://wallet.gnosis.pm/#/wallets. And click on your MultiSig wallet name. You will be redirected to below shown view.
-
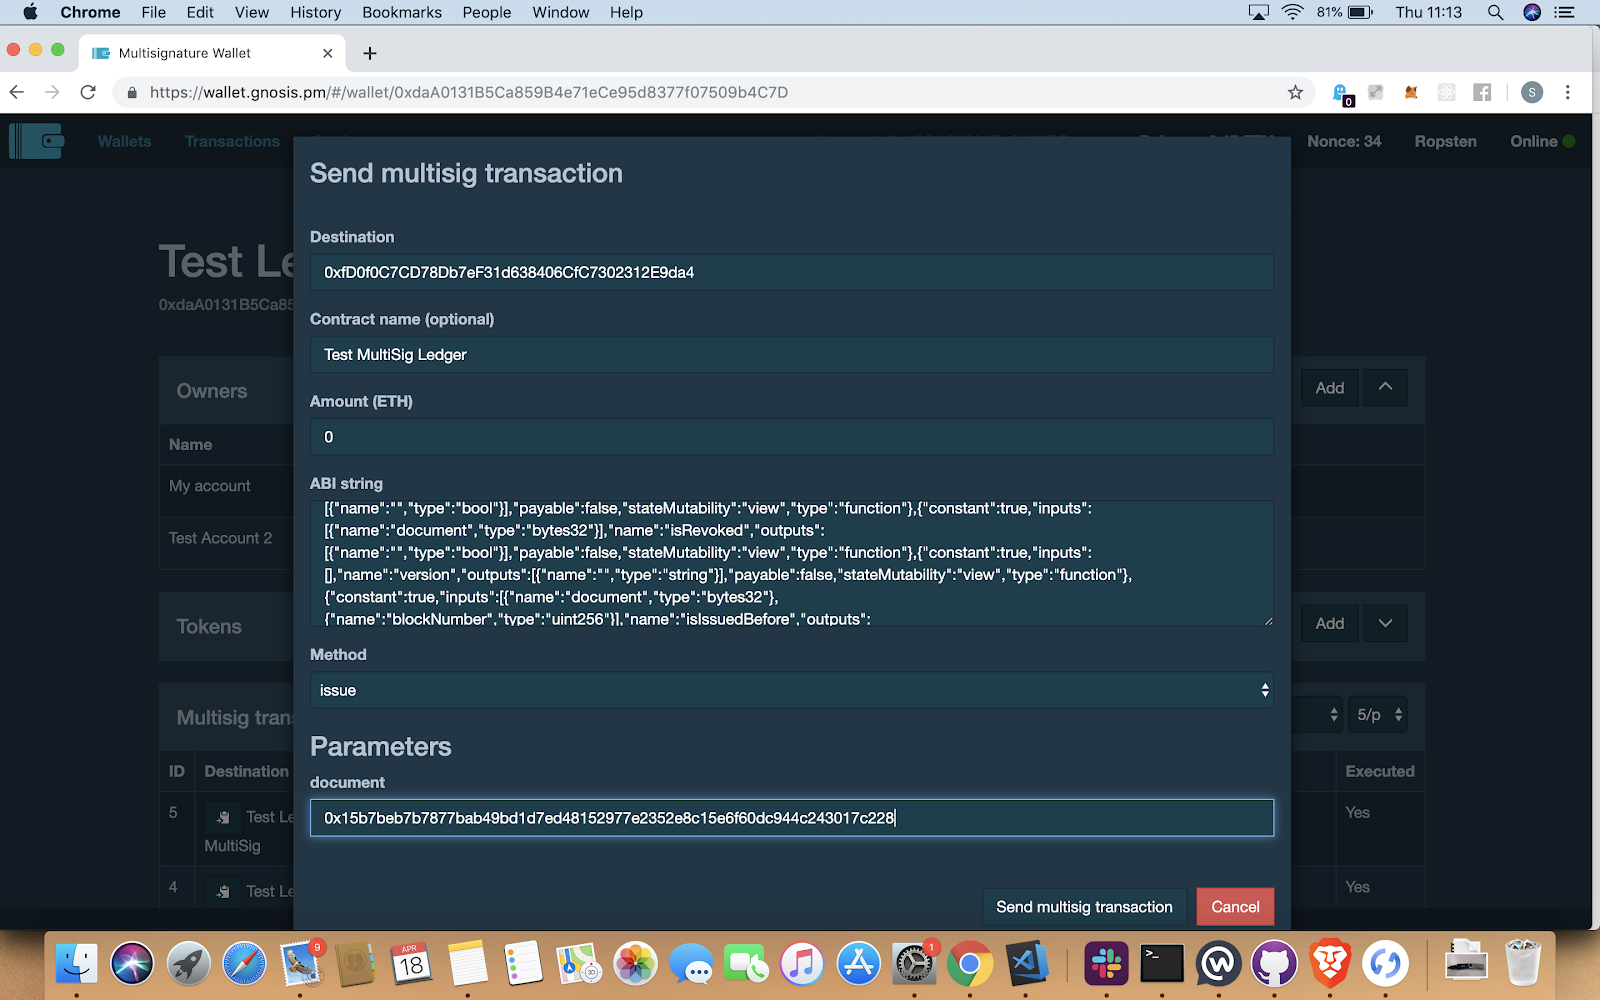
Click on the “Add” in MultiSig Transaction tab.
Destination : Its the store contract address generated in previous step from https://admin.opencerts.io/.
Contract Name : Name of the contract (Optional).
Amount : Ethers required to execute the transaction.
ABI string : ABI string of the contract. Go to https://ropsten.etherscan.io using the store address similar to previous step and click on the code tab. You will see a ABI section copy it and paste it here.
Method : Once you paste the ABI you will see the methods in that contract. To issue new certificates select “issue” method.
Document : Enter the certificate batch hash generated from certificate-cli.
Once all the information enter click on the “Send multisig transaction”.
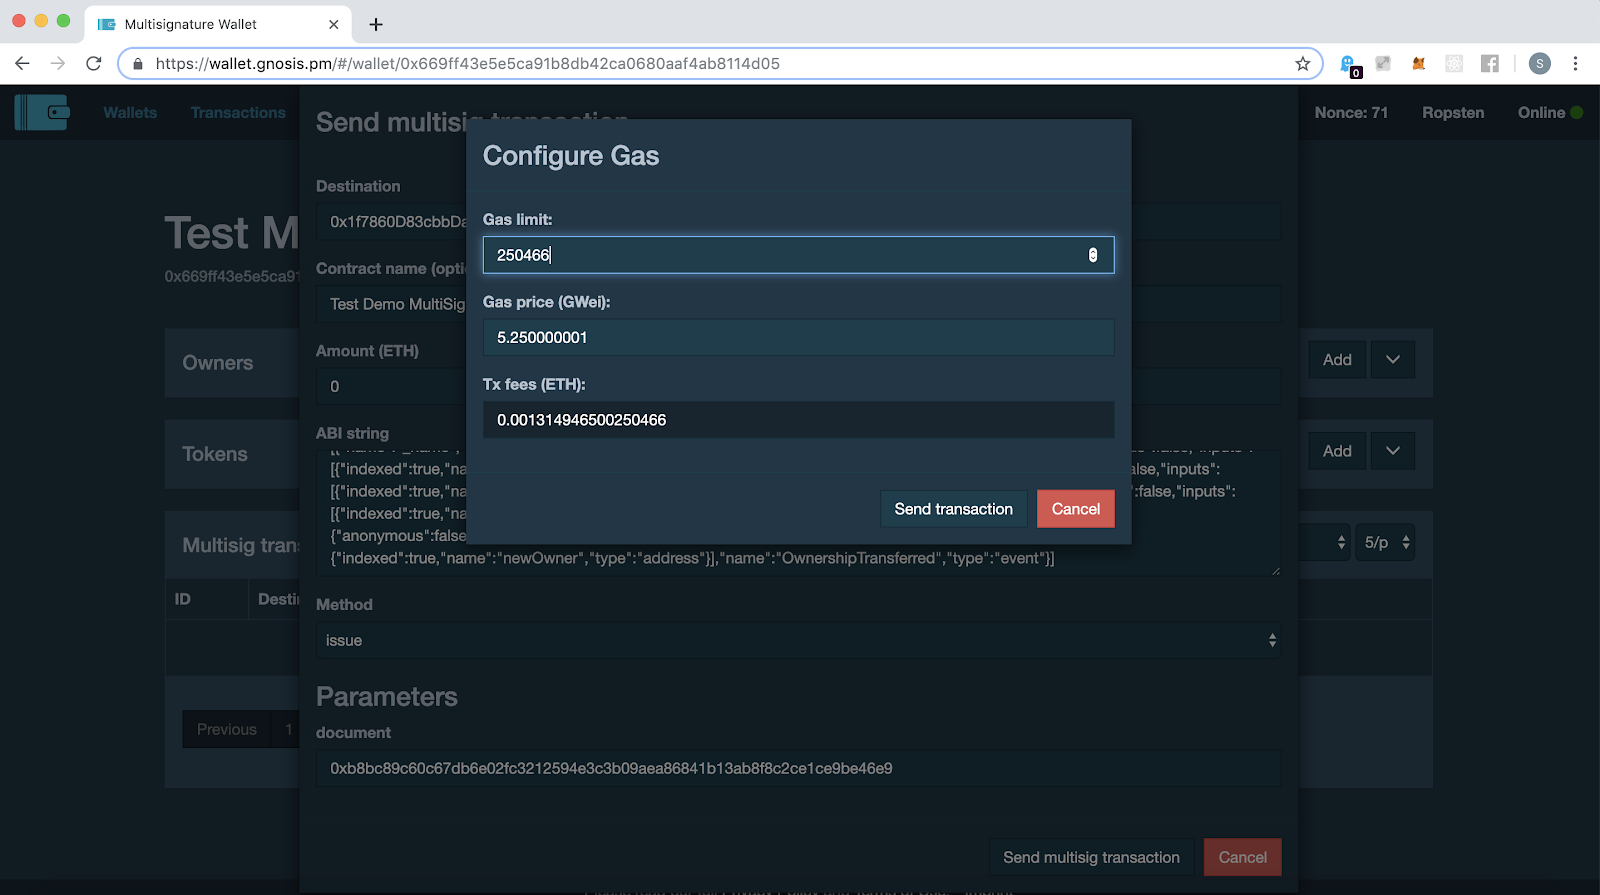
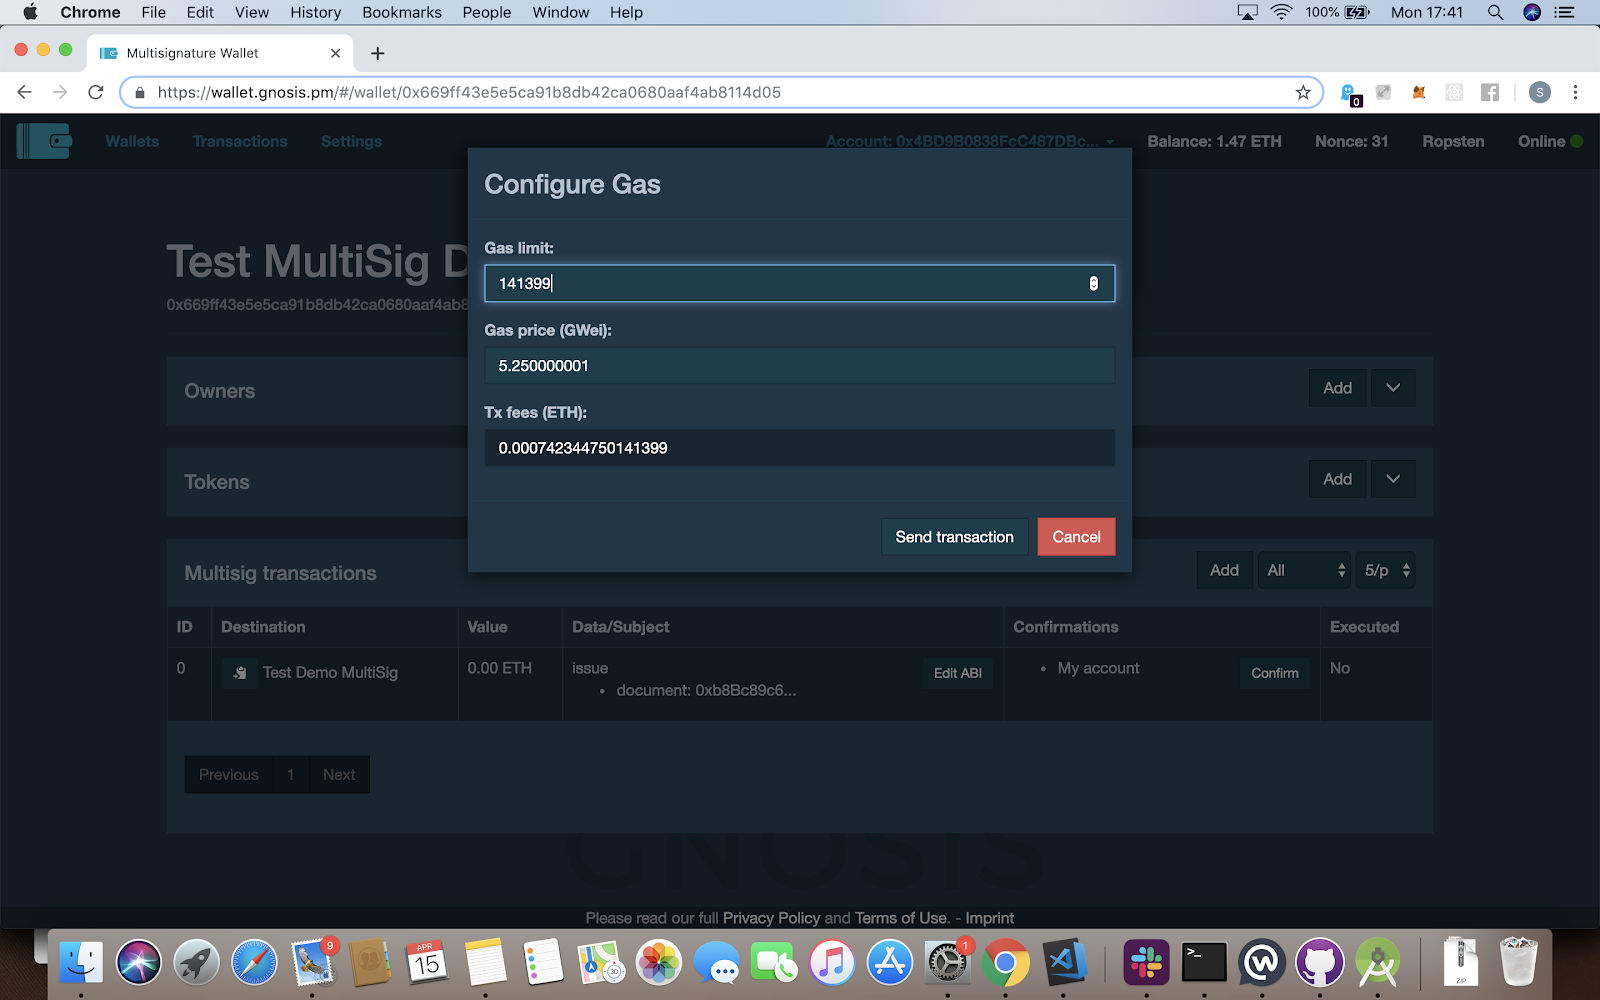
- You will be prompted with the gas required to execute the transaction. Configure the gas and click on “Send transaction”.
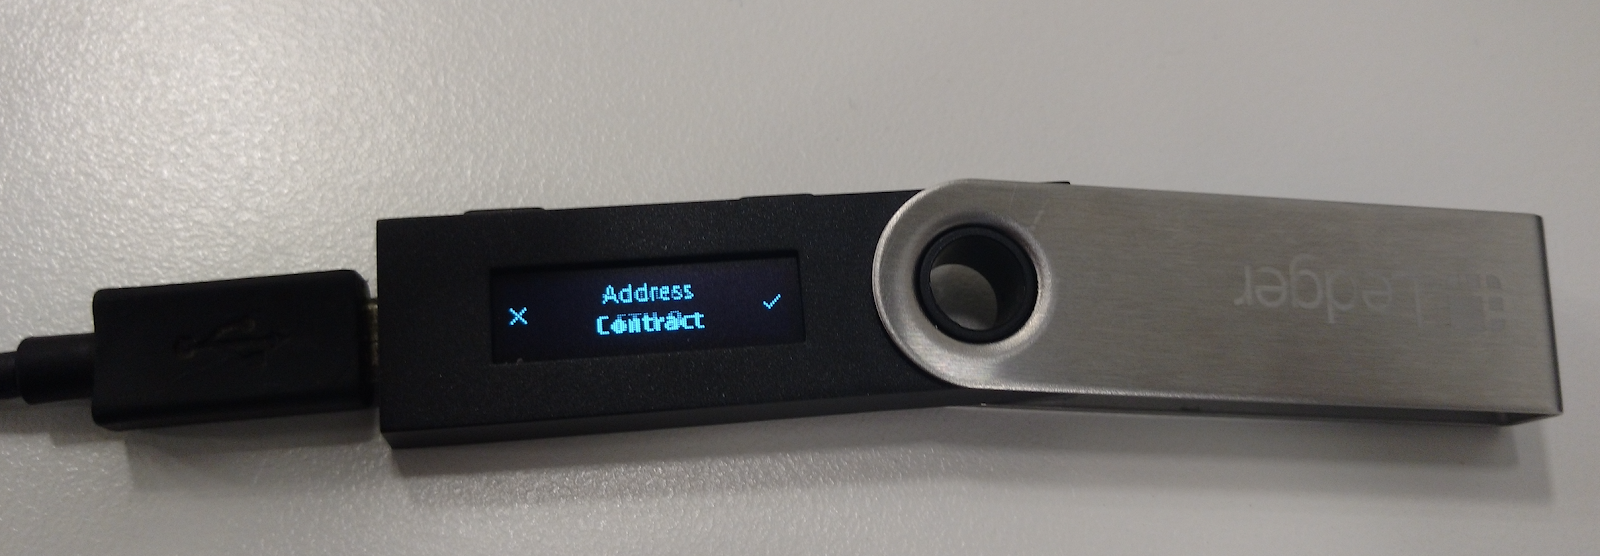
- Check your Ledger wallet. You will be prompted to confirm the address, fee and fields. Click on the right side button to confirm every detail.
- Once the transaction is mined you will see a transaction in multisig transaction section. You can also revoke your confirmation for this transaction.
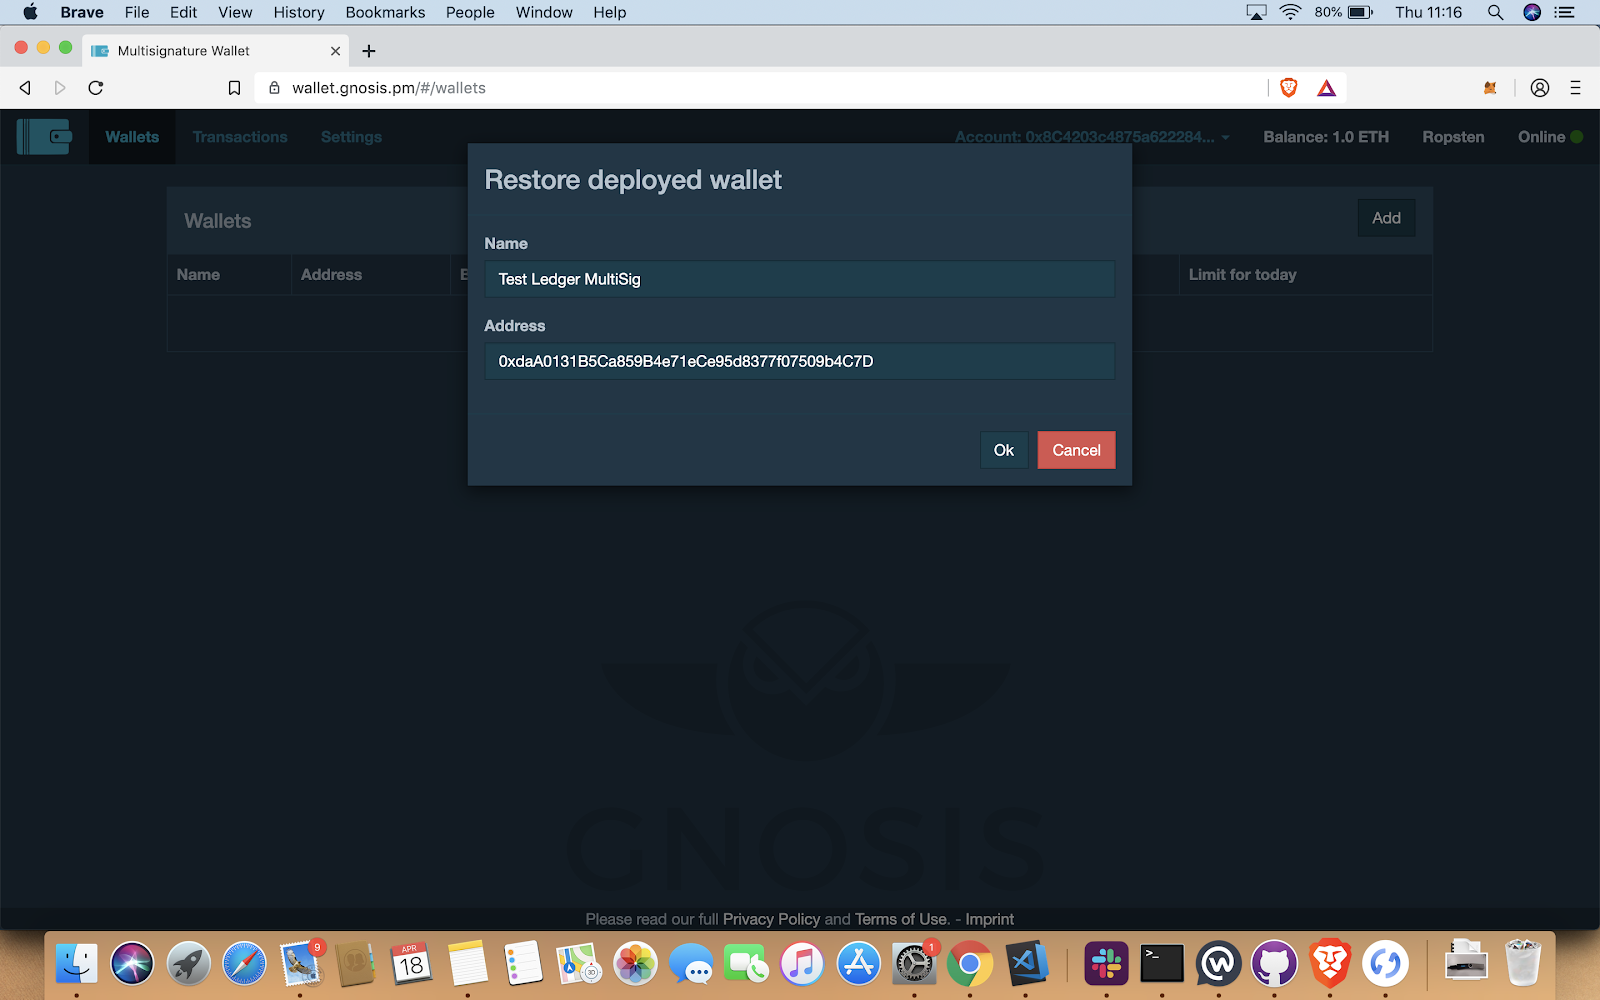
- For owner 2 go to the url https://wallet.gnosis.pm. Connect your Ledger wallet in the setting tab as described above. Then click on the “Add” wallet and select the “Restore deployed wallet”.
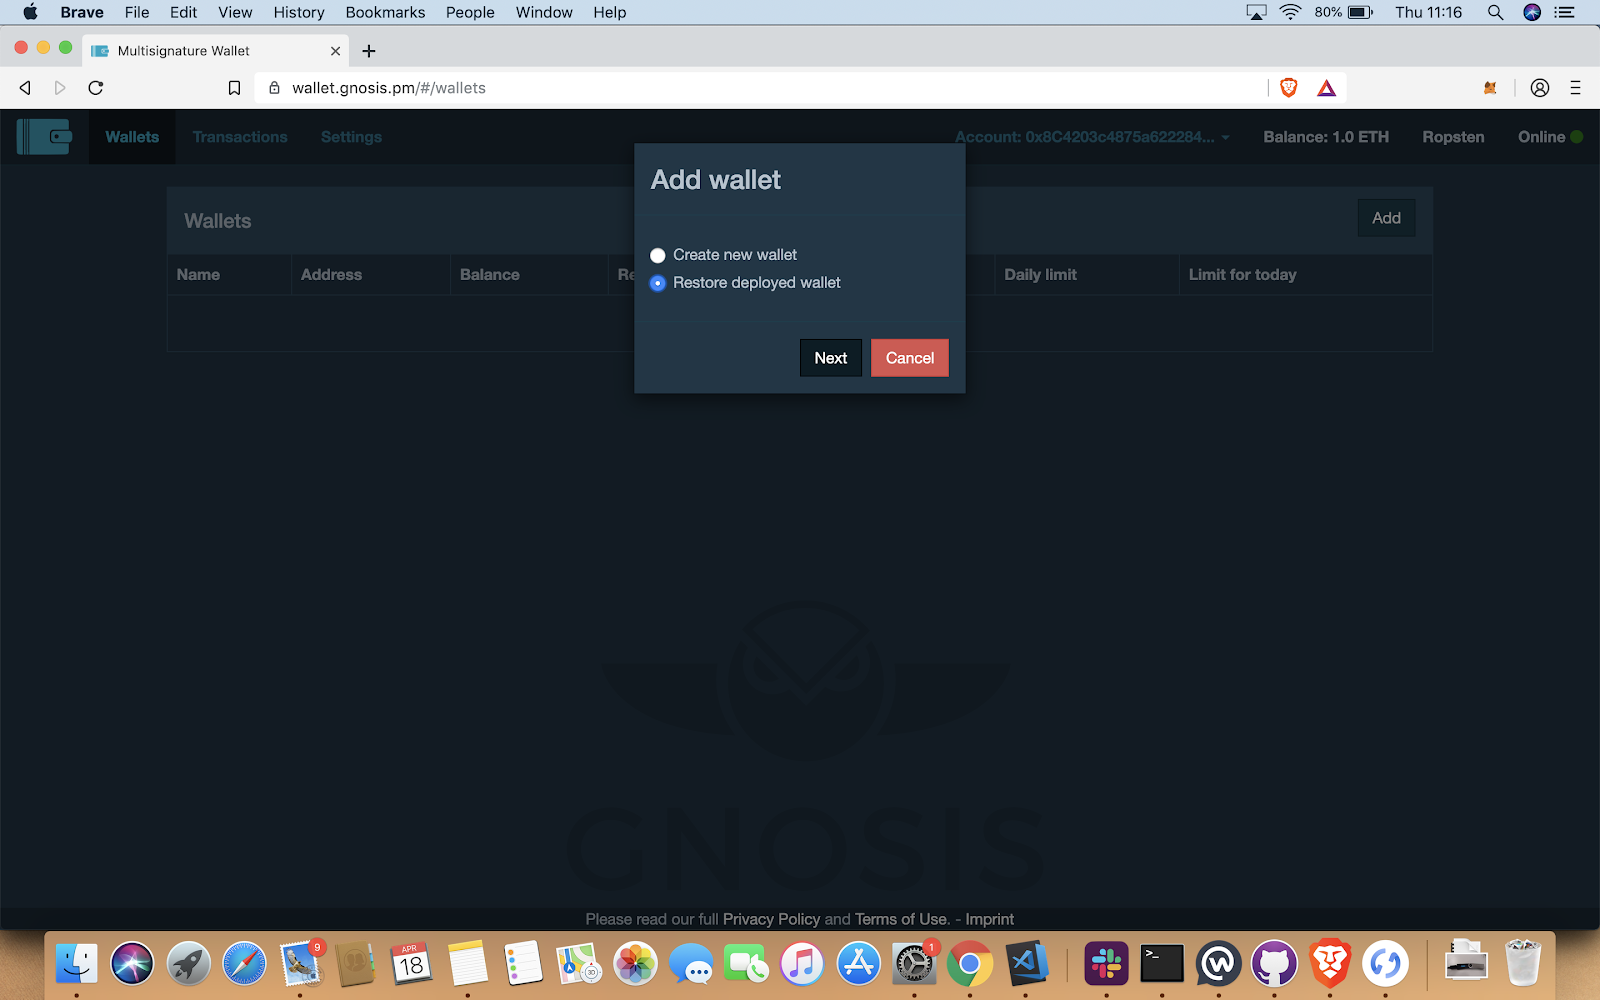
- Ether the MultiSig wallet name and address and click on “Ok”.
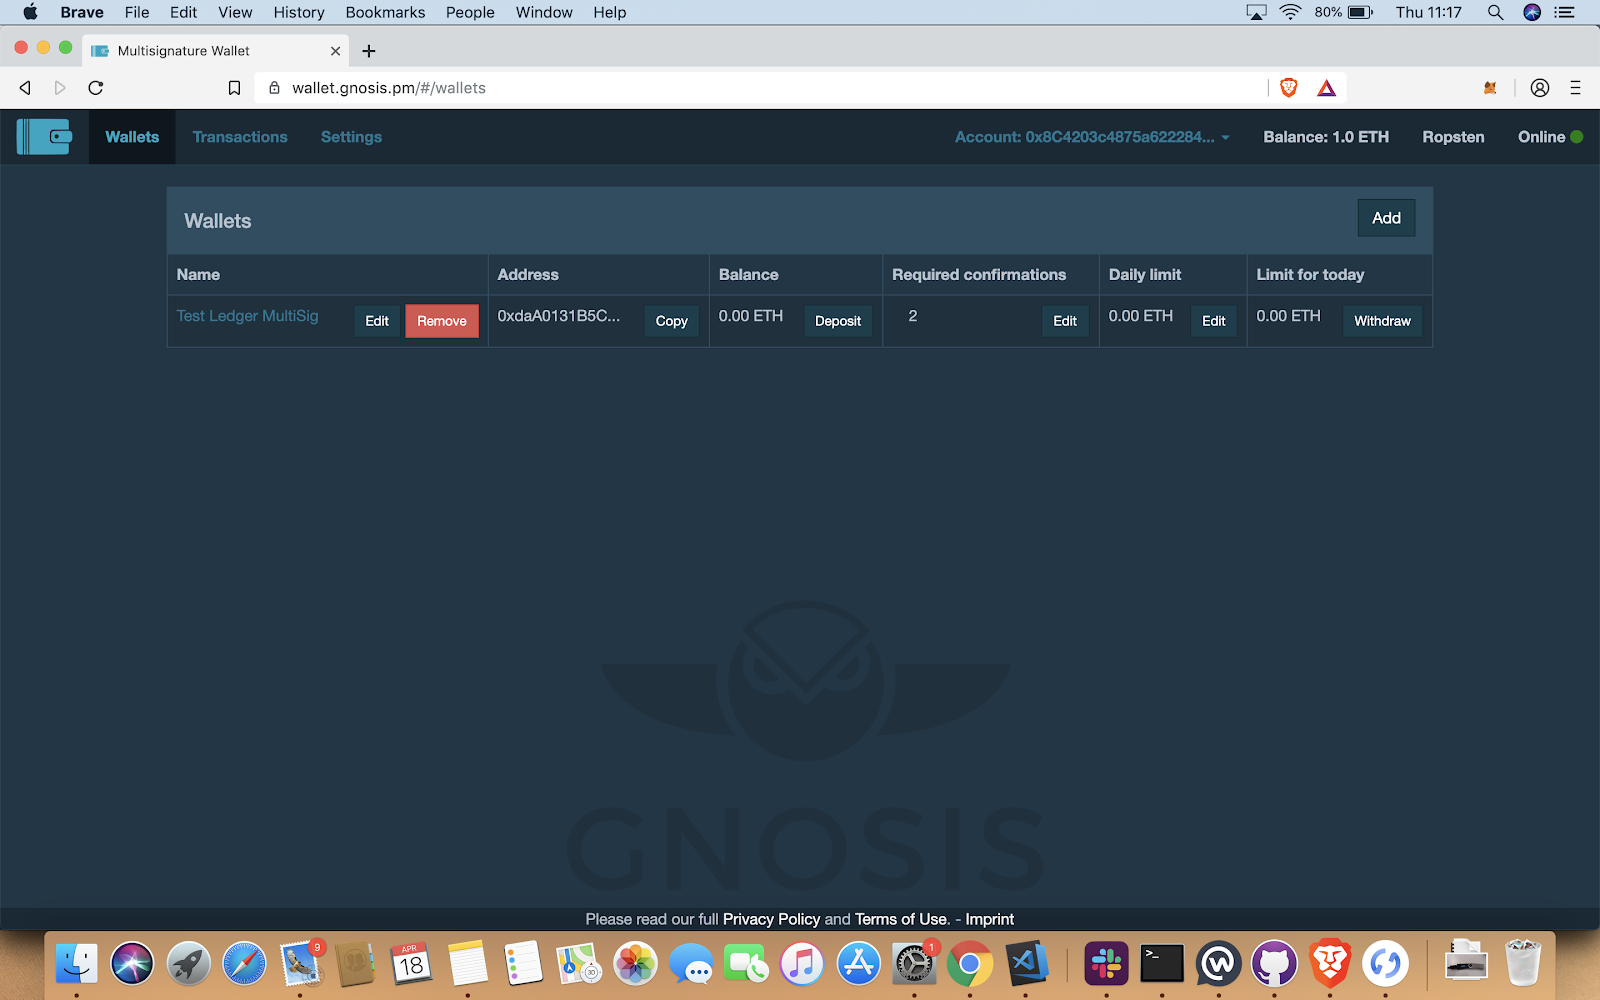
- Now you should be able to see the MultiSig Ledger wallet in your browser too. Click on the wallet name.
- You can see the MultiSig transactions. Find the transaction which ask you to confirm it.
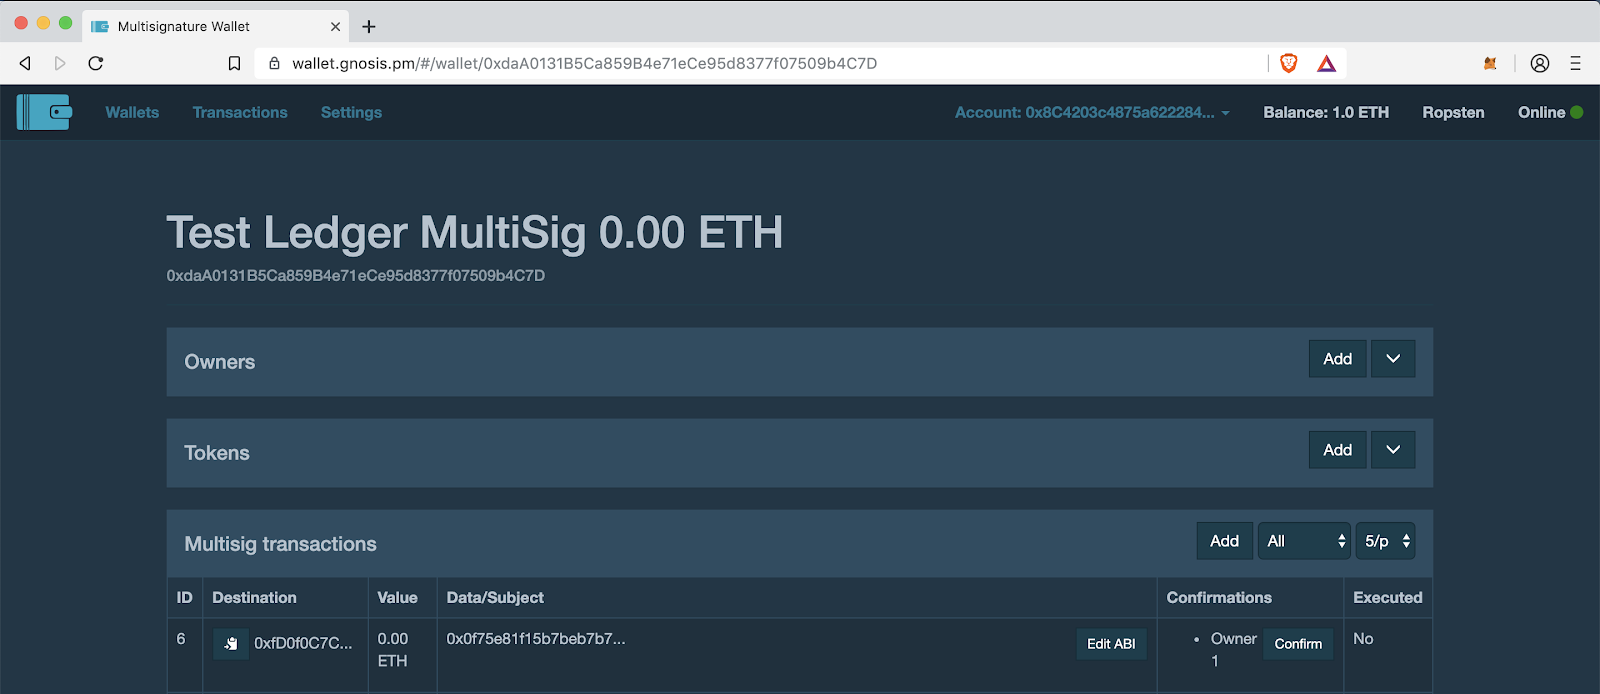
- Click on “Confirm” then click on “Send transaction”.
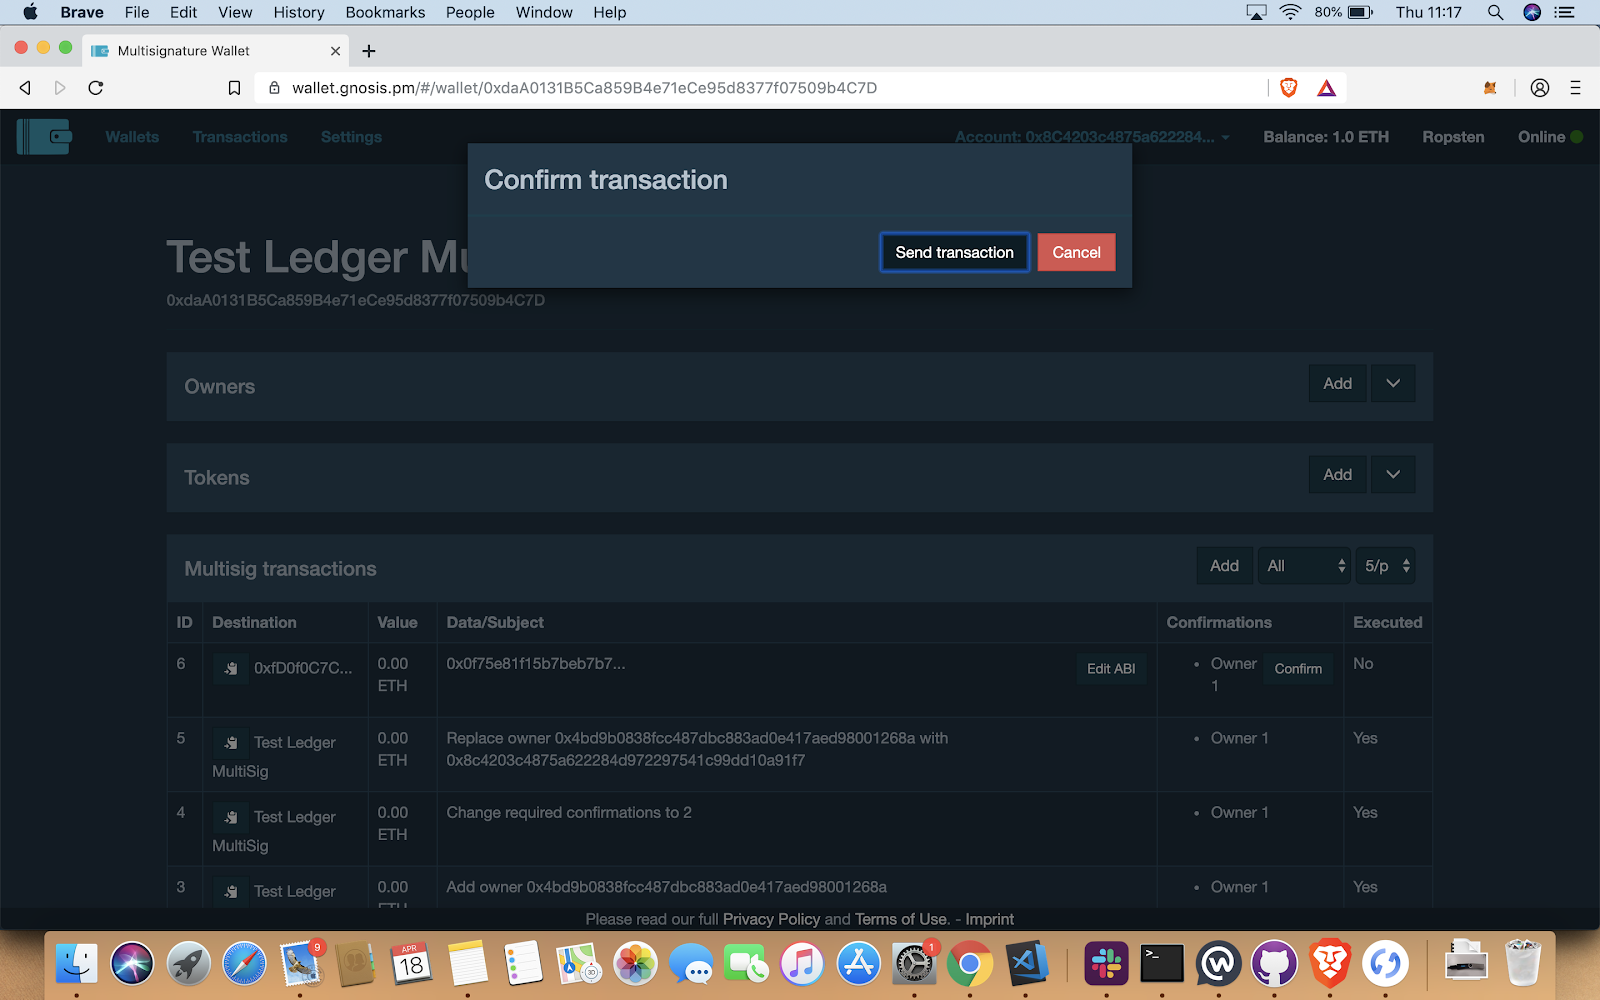
- Configure the gas and click on “Send transaction”.
-
Confirm the transaction on your ledger wallet.
-
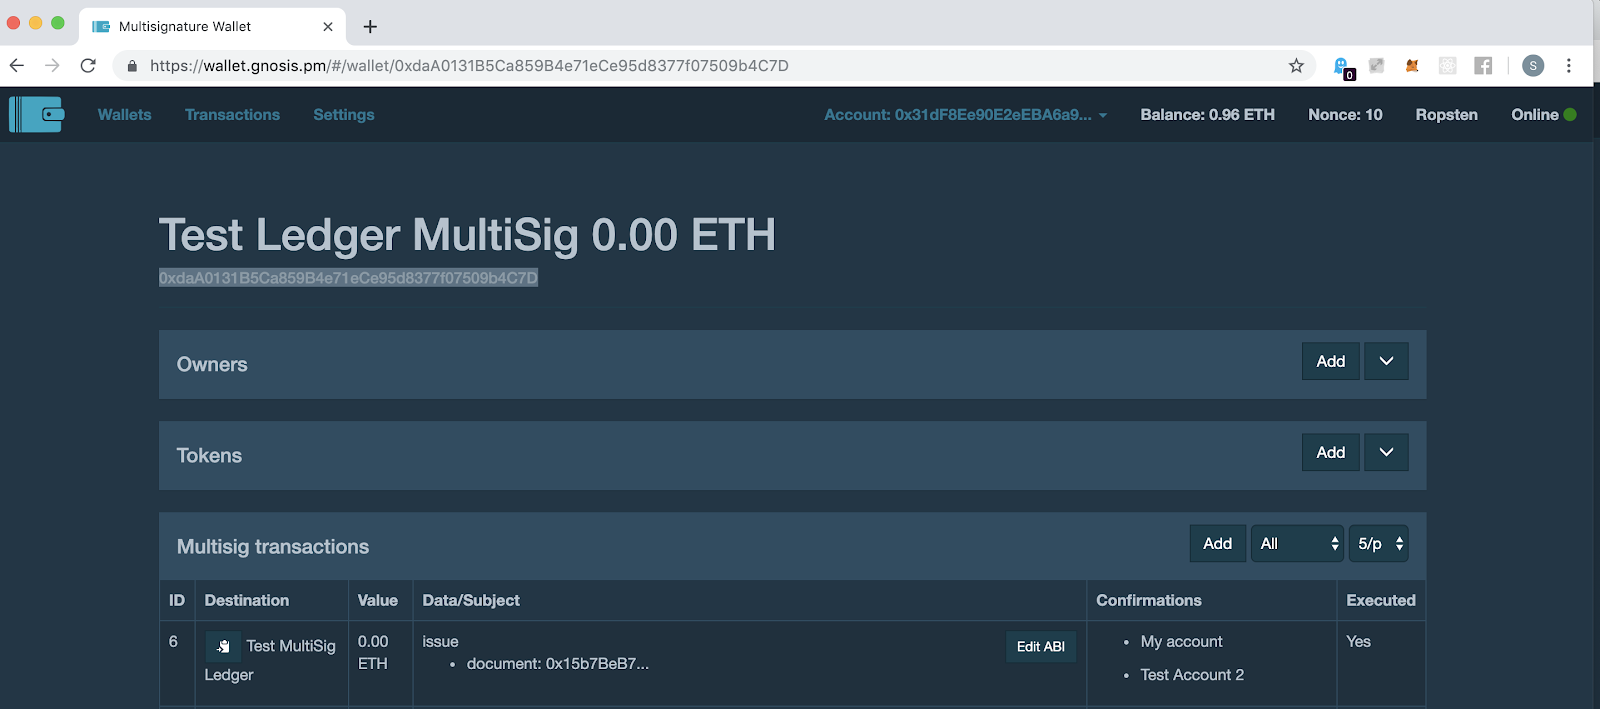
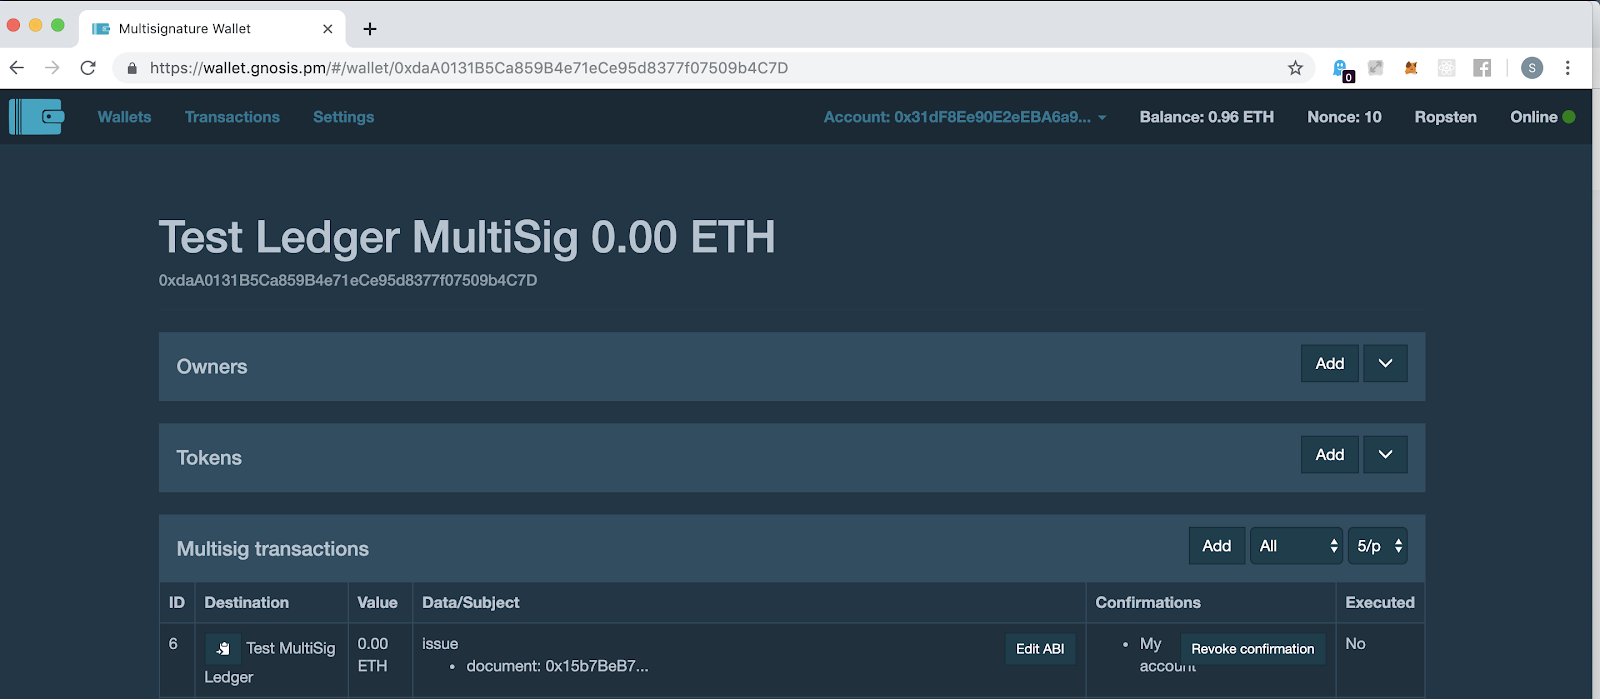
Once the transaction is mined and the number of required confirmation matches, you should see the output like below image -
ID : transaction id.
Destination : name and address of the store contract address you entered.
Value : Amount of ether transferred in the transaction.
Data/Subject : Merkel hash root you entered.
Confirmation : list of accounts which did the confirmation to execute the transaction.
Executed : If the transaction is executed or not.