opencerts-documentation
Issuing Certificates
After you have obtained the Merkle root from the previous step, the next step is to publish this Merkle root on the Ethereum public main net. Once this Merkle root is registered on the blockchain, the OpenCerts.io verifier will recognise all the certificates in the batch as issued. They will show as fully valid (unless the identity of the certificate store owner is unknown). If the certificate store is unknown, a warning will be shown but the certificate will still be viewable.
Prerequisites
To issue the certificates, please ensure you have:
Admin Interface
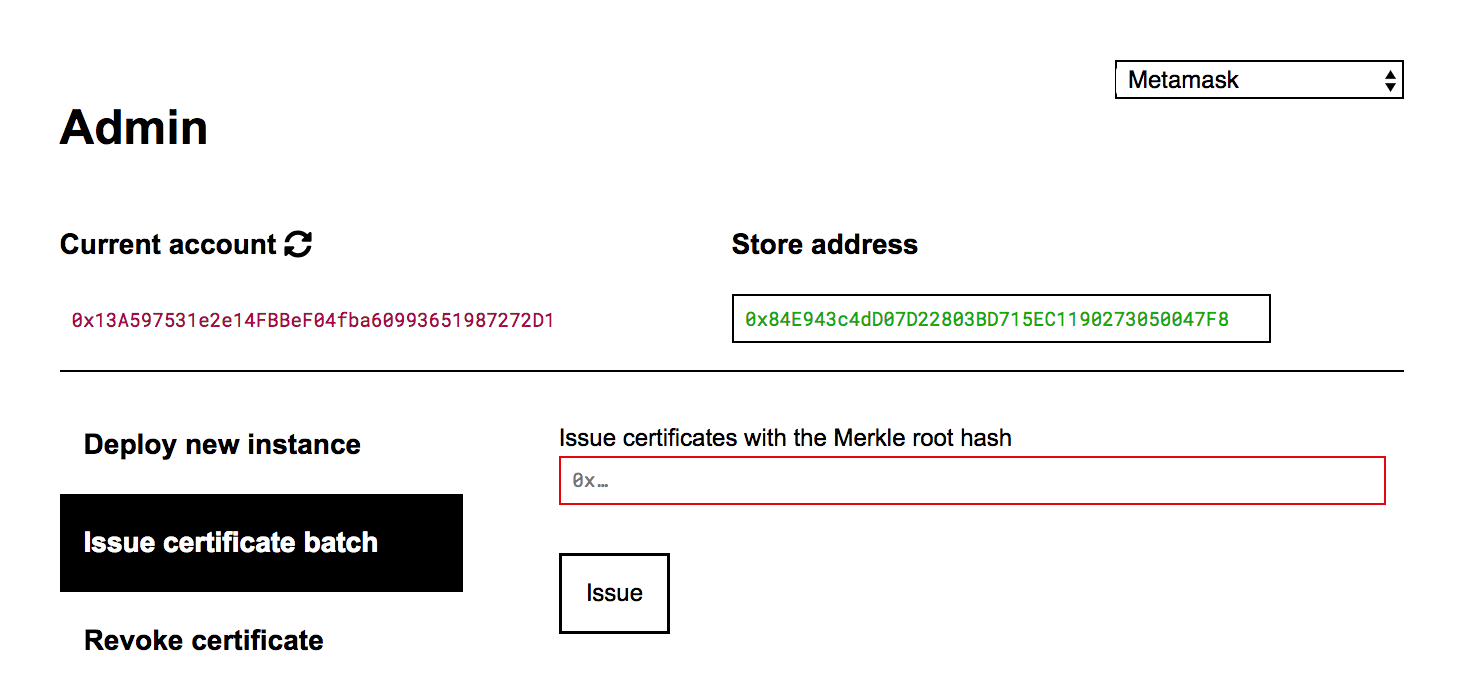
A simple admin interface is provided to allow anyone to issue certificates on their own certificate store on https://admin.opencerts.io .
Issuing Certificates
Connecting your wallet
If you are using Metamask, log into your Metamask extension and you will be able to see your Ethereum account displayed on the site next to the ‘Current Account’ label.
If you are using Ledger Nano, select Ledger Nano from the network selector on the top right. You will see your account after you have logged into your device and selected ‘Ethereum’ for the Ledger Nano apps.
If your accounts are not shown, click on the refresh icon beside ‘Current account’ to refresh the status.
Selecting your certificate store
The certificates store address is the smart contract address from the deploying store step. Do note that this address is NOT your wallet address.
Enter the store address in the field below ‘Store address’.
Publishing the merkle root hash
The merkle root hash is obtained from the batching certificate step.
Alternatively, all the processed certificate files will also have the merkle root hash appended to the file.
{
  "signature": {
    "type": "SHA3MerkleProof",
    "targetHash": "73656dd8850951c5894a8ffb04bb07615f38fcaee2c80941990948b5695d5cb7",
    "proof": [
      "85e3920e54f82b55ed752c495823ce1245b90682dda83df7f1d8fcdc9f1eee6c",
      "7c8a04b687b7ab1dba1d8a520be956185c14e4888c81dc872339e29e11f0b485"
    ],
    "merkleRoot": "0be956185c14e4888c81dc872339e29e11f0b4857c8a04b687b7ab1dba1d8a52"
  }
}
In this certificate, the merkle root to be used for the entire batch is 0x0be956185c14e4888c81dc872339e29e11f0b4857c8a04b687b7ab1dba1d8a52. Notice that you have to append 0x to the front of the merkle root.
Transaction confirmation
Once you have entered the Merkle root hash and click on “Issue”, you will have to confirm the transaction either on Metamask or on the Ledger Nano device (depress both left and right buttons).
Upon confirmation of the transaction, the transaction will be published onto the Ethereum network. You may have to wait a few minutes for the block containing that transaction to be mined.
Certificate check
Once the transaction is mined, you will see that all the certificates in the same batch of certificates is now issued and valid (except in the case of unidentified issuer).